Building Your First Family Tree: A Practical Roadmap for Beginners
Most people begin a family tree with a name and a half-remembered date, then spend the next month drowning in browser tabs. The instinct is understandable: the internet appears to hold everything, so the natural first move is to start searching. In practice, successful family history projects begin in the opposite direction. They start with what the family already knows, get organized quickly, and only then reach for the archives.
This guide sets out a workable order of operations for a first family tree. It is written for beginners who want a project that survives the initial enthusiasm, stays accurate as it expands, and remains readable to relatives who did not build it.
Step One: Empty Your Memory Before You Open a Search Box
Before touching any website or app, spend a focused half hour writing down everything you already know about your relatives. Not just the facts you are confident about, but also the fragments you are unsure of. Uncertainty is useful data. When you write down a hazy detail, you create a research question rather than an assumption.
For each person, try to capture four things:
- Full name, including maiden names for women and any anglicized or alternate spellings used across generations.
- Places connected to them: birthplace, where they lived, where they married, where they died.
- Dates, marked clearly as confirmed or approximate.
- Source of the information — whether it came from a document you have seen, a relative's recollection, or a family story of unknown origin.
That last item matters more than beginners expect. A tree that mixes verified records with hearsay becomes very difficult to untangle two years later. Labeling a fact as unconfirmed at the moment you record it takes seconds and saves hours.
Step Two: Build the Skeleton Before You Add Detail
A family tree is a structure first and a database second. Begin with yourself and work backwards one generation at a time: parents, then grandparents, then great-grandparents. For each generation, record births, marriages, and deaths, and connect each person to the correct parents and spouse. Resist the urge to jump to a famous ancestor or a distant branch that looks interesting online — incomplete branches create the worst kind of mess later.
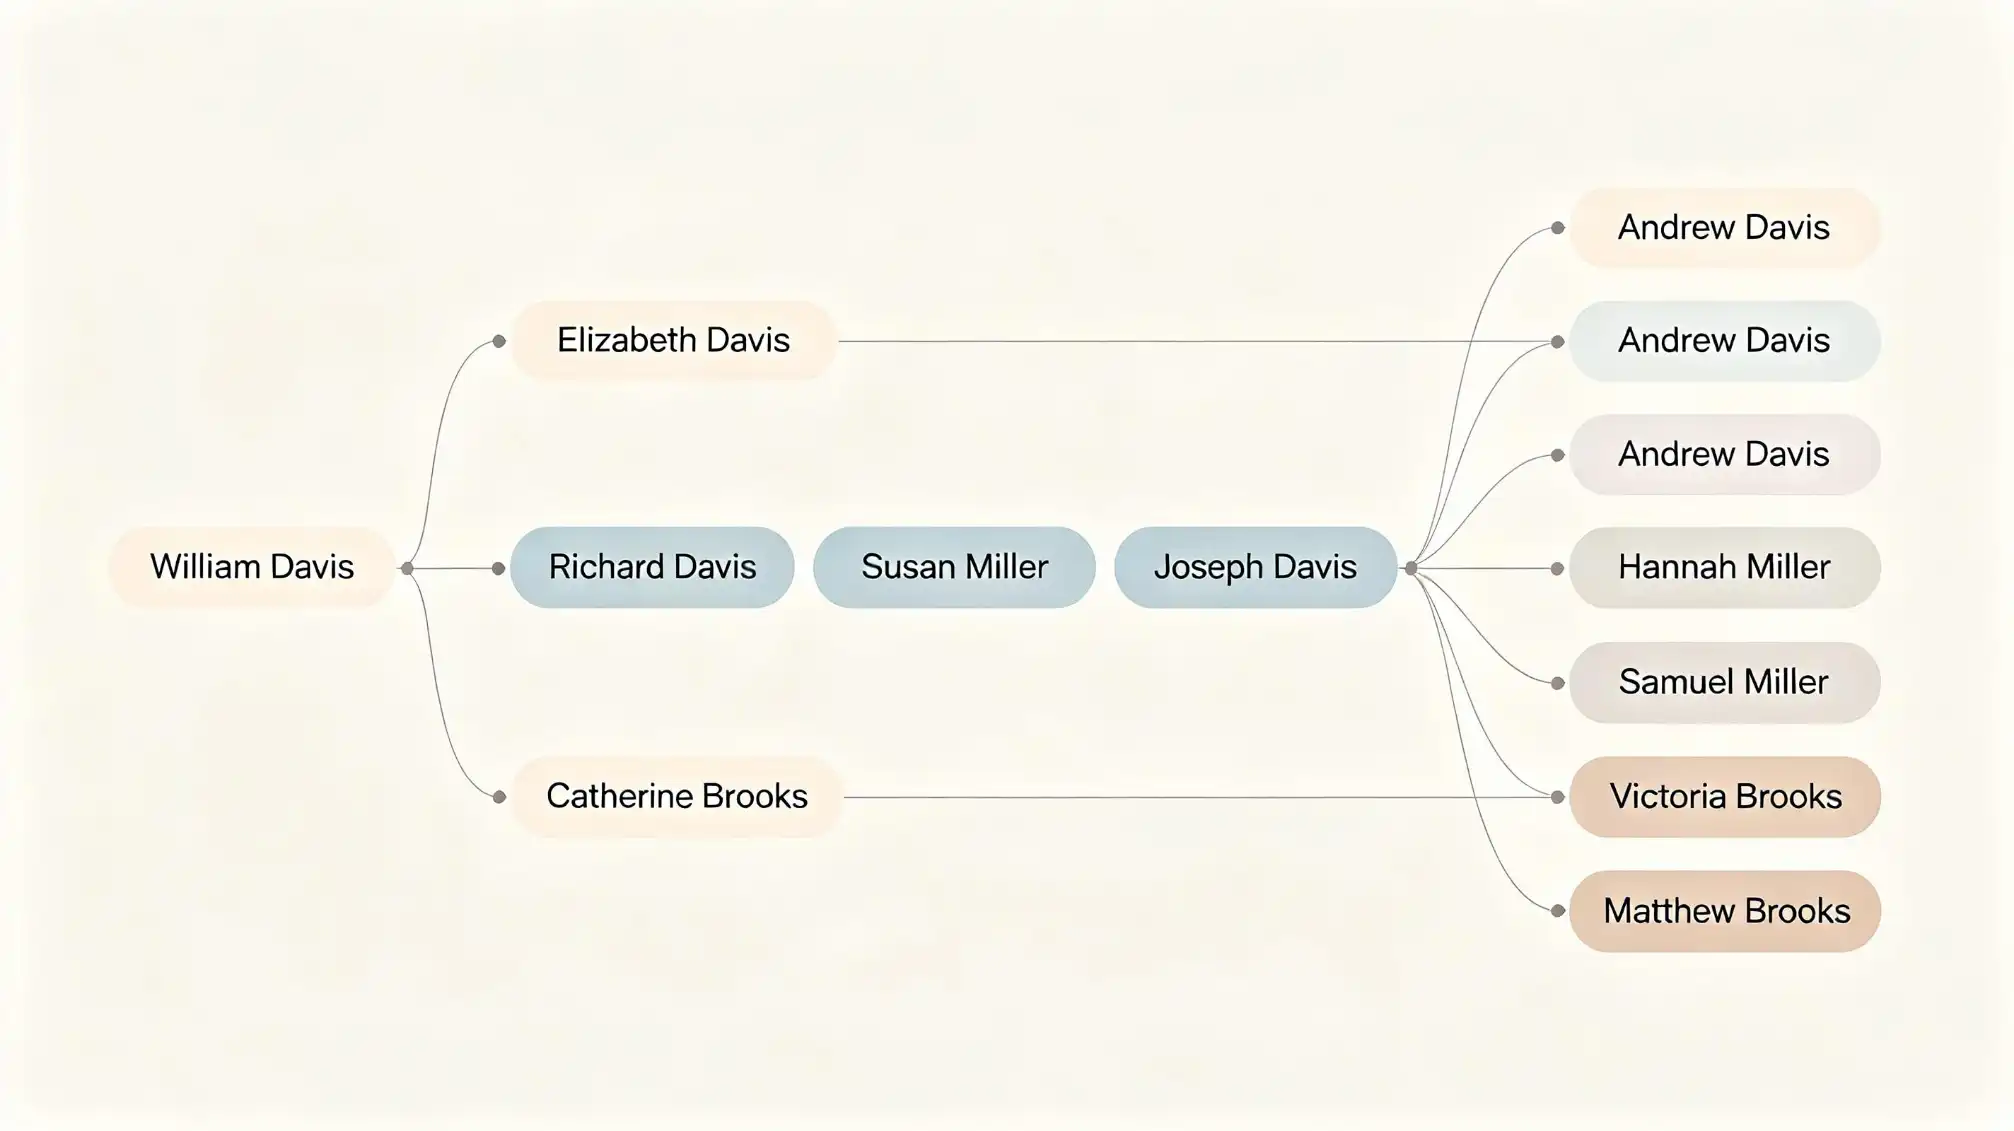
Two structural habits pay off immediately. First, record women under their maiden name and attach married names as notes or alternate names; this is how records are indexed and how most software expects data to be entered. Second, keep sibling groups together. Siblings are often the key to breaking through a blocked line, because their records may survive when an ancestor's do not.
Step Three: Choose One Home for Your Research
You need a single place that counts as your master tree. It can be paper, a well-designed spreadsheet, or dedicated genealogy software — the format matters less than the discipline of one source of truth. Many beginners keep three half-finished versions across a notebook, a phone, and two websites, and then lose track of which one is current.
Whichever system you choose, apply consistent rules from day one:
- One date format, ideally written in full so it cannot be misread.
- One place-name format, moving from the smallest unit outward: town, county, region, country.
- One naming convention, with nicknames kept separately from formal names.
- A source field filled in for every fact, even if the source is simply a conversation with an aunt.
Step Four: Talk to Living Relatives Before Searching for Dead Ones
The most underused resource in family history is a living relative with an hour to spare. Older relatives hold details that no index will ever contain: occupations, migrations, family businesses, estrangements, and the stories that explain why people made the choices they did.
Ask open questions rather than yes-or-no ones. Instead of confirming a date, ask what the family home was like, who was considered the adventurous one, and which relatives fell out of touch and why. Always finish by asking who else you should speak to — this single question builds your interview list faster than any other.
Record interviews with permission, note the date and the speaker, and treat recollections as leads rather than conclusions. Memory is generous with detail and unreliable with dates. When a relative hands over photographs, ask who is in each one and write the answer on the back or in a digital caption immediately; fifty unlabeled photographs in a shoebox are a puzzle, while five labeled ones are a breakthrough.
Step Five: Verify as You Go, Not at the End
Family history research becomes genuinely reliable when each fact is tied to a document. As you add detail, look for the record types that anchor each life event:
- Civil registration of births, marriages, and deaths.
- Census and household records, which place people together at a specific address.
- Church and parish registers for events before civil registration.
- Military, immigration, and naturalization files.
- Wills, probate inventories, and land records, which often name relationships explicitly.
- Newspaper archives, cemetery records, and headstones.
Cite every source while the citation is still fresh. A note that reads, in effect, a district register entry viewed on a specific date with a reference number, will rescue you when two people share a name and one plausible date. It also protects the tree from the most common beginner error: copying an entire tree from an online platform because one name matched. Published trees are other people's research notes, not evidence.
Step Six: Keep the Tree Readable and Shareable
A family tree that only makes sense to its author has limited value. Add short biographical notes as you go — a sentence about a trade, a wartime posting, or a move across the country is enough to turn a list of dates into a family history that relatives will actually read.
Sh where the momentum lives. Family keeps coming back with extra names and photographs, and each round of sharing tends to unlock another branch. If you would like a place where relatives can contribute memories and images alongside your research, the shared family space at https://www.familylove.love/family is a practical next action once your core tree is stable.
Where Beginners Usually Get Stuck
Two blocks account for most stalled projects. The first is trying to complete one branch entirely before recording anything else, which leaves the rest of the tree invisible and makes it hard to spot connections. The second is collecting documents without storing them, so the research exists in downloads rather than in the tree.
The remedy for both is a simple rhythm: collect a few facts, attach them with sources, tidy the naming, then move sideways to a sibling when a line stalls. Working in small, finished loops keeps a family tree accurate, and accuracy is what makes it useful to the next generation.