{
"title": "Family Photos That Outlast the Shoebox: A Gentle Rescue Plan for Old Prints",
"metaTitle": "Family Photos That Outlast the Shoebox: A Gentle Rescue Plan",
"metaDescription": "A practical guide to preserving family photos, labeling old prints, scanning for backup, and keeping family history and ancestors connected to the images.",
"summary": "A calm, practical guide to rescuing old family photos: sorting without damage, labeling with names and stories, storing prints safely, scanning for backup, and sharing the archive so family history stays alive.",
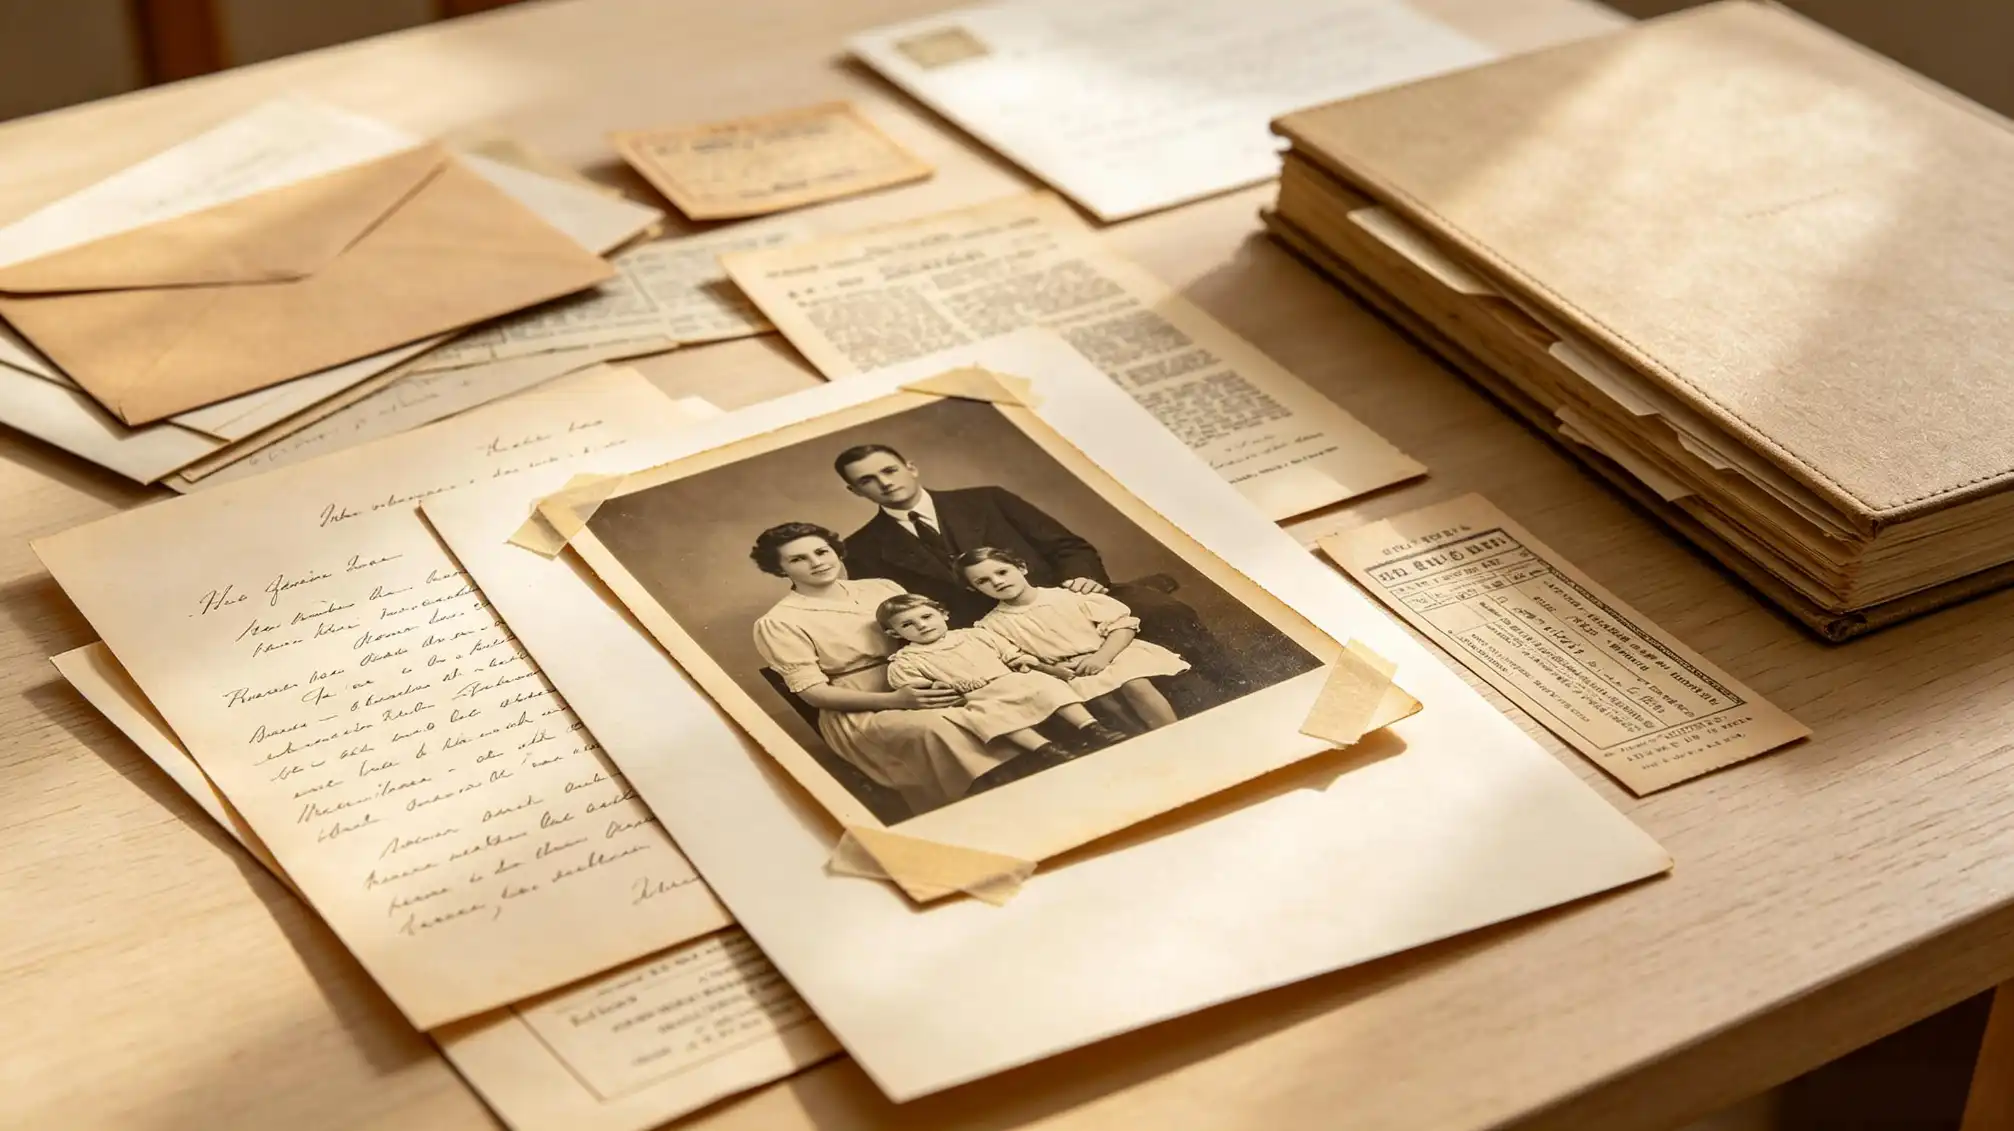
"contentHtml": "<h1>Family Photos That Outlast the Shoebox: A Gentle Rescue Plan for Old Prints</h1>\n<p>Most family photo collections are not organized; they are accumulated. A box in the closet, an album with failing adhesive, a phone full of images with no names. The goal is not a museum-quality archive overnight. It is to make family photos safer, findable, and rich enough with context that your ancestors do not become strangers in their own pictures.</p>\n<h2>Start with a rescue, not a remodeling project</h2>\n<h3>The three-pile sort</h3>\n<p>Choose one shoebox or one album shelf, not the whole closet. Clear a table, wash and dry your hands, and work in good light without direct sun. Make three piles: handle now, scan later, and ask a relative. This keeps the project moving without pretending you have a freeweekend for a full archive.</p>\n<h3>Handling rules that prevent new damage</h3>\n<p>Hold prints by their edges. Clean, dry hands are usually enough; gloves help with very old or damaged surfaces. Keep drinks and pens away. Do not use tape, glue, rubber bands, or ordinary envelopes, even as a quick fix. If a photo is stuck in an album or frame, do not force it. Set it aside for slower removal or professional advice. The first rule of family photos is simple: do no harm while you decide what comes next.</p>\n<figure><img src='https://r2.familylove.love/static/seo/memoriespreservation2.webp' alt='Hands sorting old family photos into archival sleeves and boxes' /><figcaption>Sorting family photos by condition and story is the first step toward a usable archive.</figcaption></figure>\n<h2>Give every family photo three kinds of context</h2>\n<p>A picture becomes family history when it has names, relationships, and a reason it mattered. Record what you know safely: not on the front of the print, and ideally not directly on the back where pencil pressure can dent the image. Use an archival sleeve and a soft pencil, or keep a digital index. Note the full name, maiden name where relevant, place, approximate date, and occasion.</p>\n<p>Then capture the family memories around the image. Who is missing from the frame? Why was this day photographed? What was happening in the family that year? A caption is useful; a sentence or two of story is better. When you are ready to attach those details to a relative and invite others to add corrections, create a family story page at https://www.familylove.love/stories. That turns a lone portrait into a shared record for cousins and future researchers.</p>\n<h2>Choose a safe home that works for real life</h2>\n<p>Family photos age fastest in heat, damp, light, and pests. Attics and basements are often the worst storage spaces. Aim for a cool, dry, dark interior closet or shelf with fairly stable temperature and humidity. Keep boxes off the floor and away from outside walls. Avoid long-term display of valuable originals in direct sun; frame a copy and archive the original.</p>\n<p>Use photo-safe storage rather than decorative convenience. Acid-free boxes, lignin-free folders, and polyester, polypropylene, or polyethylene sleeves are good choices. Avoid PVC plastic, sticky albums, and ordinary cardboard. Store prints upright in boxes that are neither crammed nor loose, and interleave fragile items with acid-free tissue. Label the outside of each box with a broad description, such as Grandma Rivera, 1940s to 1960s, so you do not have to open every box to find a branch of the family.</p>\n<h2>Scan for access, not just duplication</h2>\n<p>Scanning is not a substitute for careful storage, but it is how family photos become shareable and survive a move, a phone loss, or a flooded basement. Scan prints at 600 ppi for small and medium sizes, and go higher for tiny prints or fine detail. Save a high-quality master file, preferably TIFF, plus a smaller JPEG for sharing. Name files consistently, such as 1952-06-14_chicago_maria-rodriguez_wedding_01, and scan the back of each photo too, because is where names and dates often hide.</p>\n<p>Keep at least three copies: one on your computer, one on an external drive stored elsewhere, and one in a reputable cloud service. Recheck the backup once a year. Add a plain-text readme explaining the naming system and who scanned the collection. If an older relative is helping, record a short audio note as they identify people. Those few minutes of family memories can be more valuable than a perfect scan.</p>\n<h2>Build the family history layer ancestors</h2>\n<p>Old photographs are evidence, but family history is made of connections. Create a simple index that links each photo to a person or family group. Include known ancestors, places of origin, migration dates, occupations, and the names of people who identify unknowns. Use a spreadsheet, notebook, or family history database, whichever you will actually maintain. The point is not perfect software; it is a reliable map back to the original print or scan.</p>\n<p>Share the index with relatives and for corrections. Memory is imperfect, and two cousins may disagree about a date or a face. Treat those disagreements as clues, not failures. Keep a notes column for uncertain identifications rather than overwriting the original label Over time, small corrections turn a pile of family photos into a usable archive for anyone researching your ancestors.</p>\n<h2>Make sharing a habit, not a one-time project</h2>\n<p>An archive that only one person knows about is still at risk. Give family members access copies, not the originals. Create an annual photo rescue day: one hour to label a box, scan a batch, or interview an older relative. Send a few images to the family group with the story attached. Print a small album for a birthday. The goal is a gentle rhythm that keeps family memories moving through the family instead of sitting silent in a closet.</p>\n<p> photos include living people, ask before posting publicly. Keep sensitive images private. Tell at least one other person where the archive lives and how to use it. A short written handover note is a gift to the next generation.</p>\n<h2>What to do when photos are damaged</h2>\n<p>Water, mold, insects, fading, and curling are. Isolate damaged items from the rest of the collection. Air-dry wet prints slowly in a ventilated room, away from direct heat and sun, and separate them with clean blotting paper if they are stuck together. Do not iron, microwave, or tape them. For mold, wear a mask and gloves, seal the item in a breathable container, and seek conservation advice rather than spores through the collection.</p>\n<h2>Keep the plan small enough to finish</h2>\n<p>You do not need to preserve every family photo in one heroic push. You need a safe home, a naming system, a backup, and a way for stories to travel with the images. Begin with one box. Label one sleeve. Scan one batch. Ask one relative to name one face. Then repeat. That is how family history survives: through small, repeated acts of attention.</p>\n<h1>Practical Steps</h1>\n<ul>\n<li>Related link: Start a one-box rescue session this weekend. Sort family photos into handle now, scan later, and ask a relative; then add names and stories at https://www.familylove.l/stories so the details stay attached to the images.</li>\n<li>Help and guidance: Visit https://www.familylove.love/docs for more practical support with preserving, organizing, and sharing your family archive.</li>\</ul>",
"images": [
"https://r2.familylove.love/static/seo/memoriespreservation2.webp"
]
}