Genealogy for Beginners: A Home-First Method for Building Your Family Tree
Most people start genealogy the same way: they type a grandparent's name into a search box, get 40,000 results, and close the laptop. The problem is not the databases — it is the order of operations. Experienced researchers almost always work from the known to the unknown, beginning with the living room rather than the archive. This guide lays out that home-first method so your first months of family research produce a family tree you can trust instead of a folder of disconnected printouts.
Step One: Harvest What Your Family Already Knows
Before you pay for a subscription or request a single record, spend two or three evenings gathering information that exists only in people's memories and closets. This stage is the most productive part of early family history work, and it is the part that disappears fastest as older relatives pass away.
Ask open questions rather than yes-or-no ones. "Tell me about your childhood kitchen" will surface more names, places, and dates than "Do you remember your grandmother's birthday?" Follow up on specifics: full names (including maiden names), approximate birth years, towns of origin, occupations, religious affiliations, and migration stories. Record the conversations if your relative agrees, and always note who told you what and when — memory is a source, but it is an imperfect one.
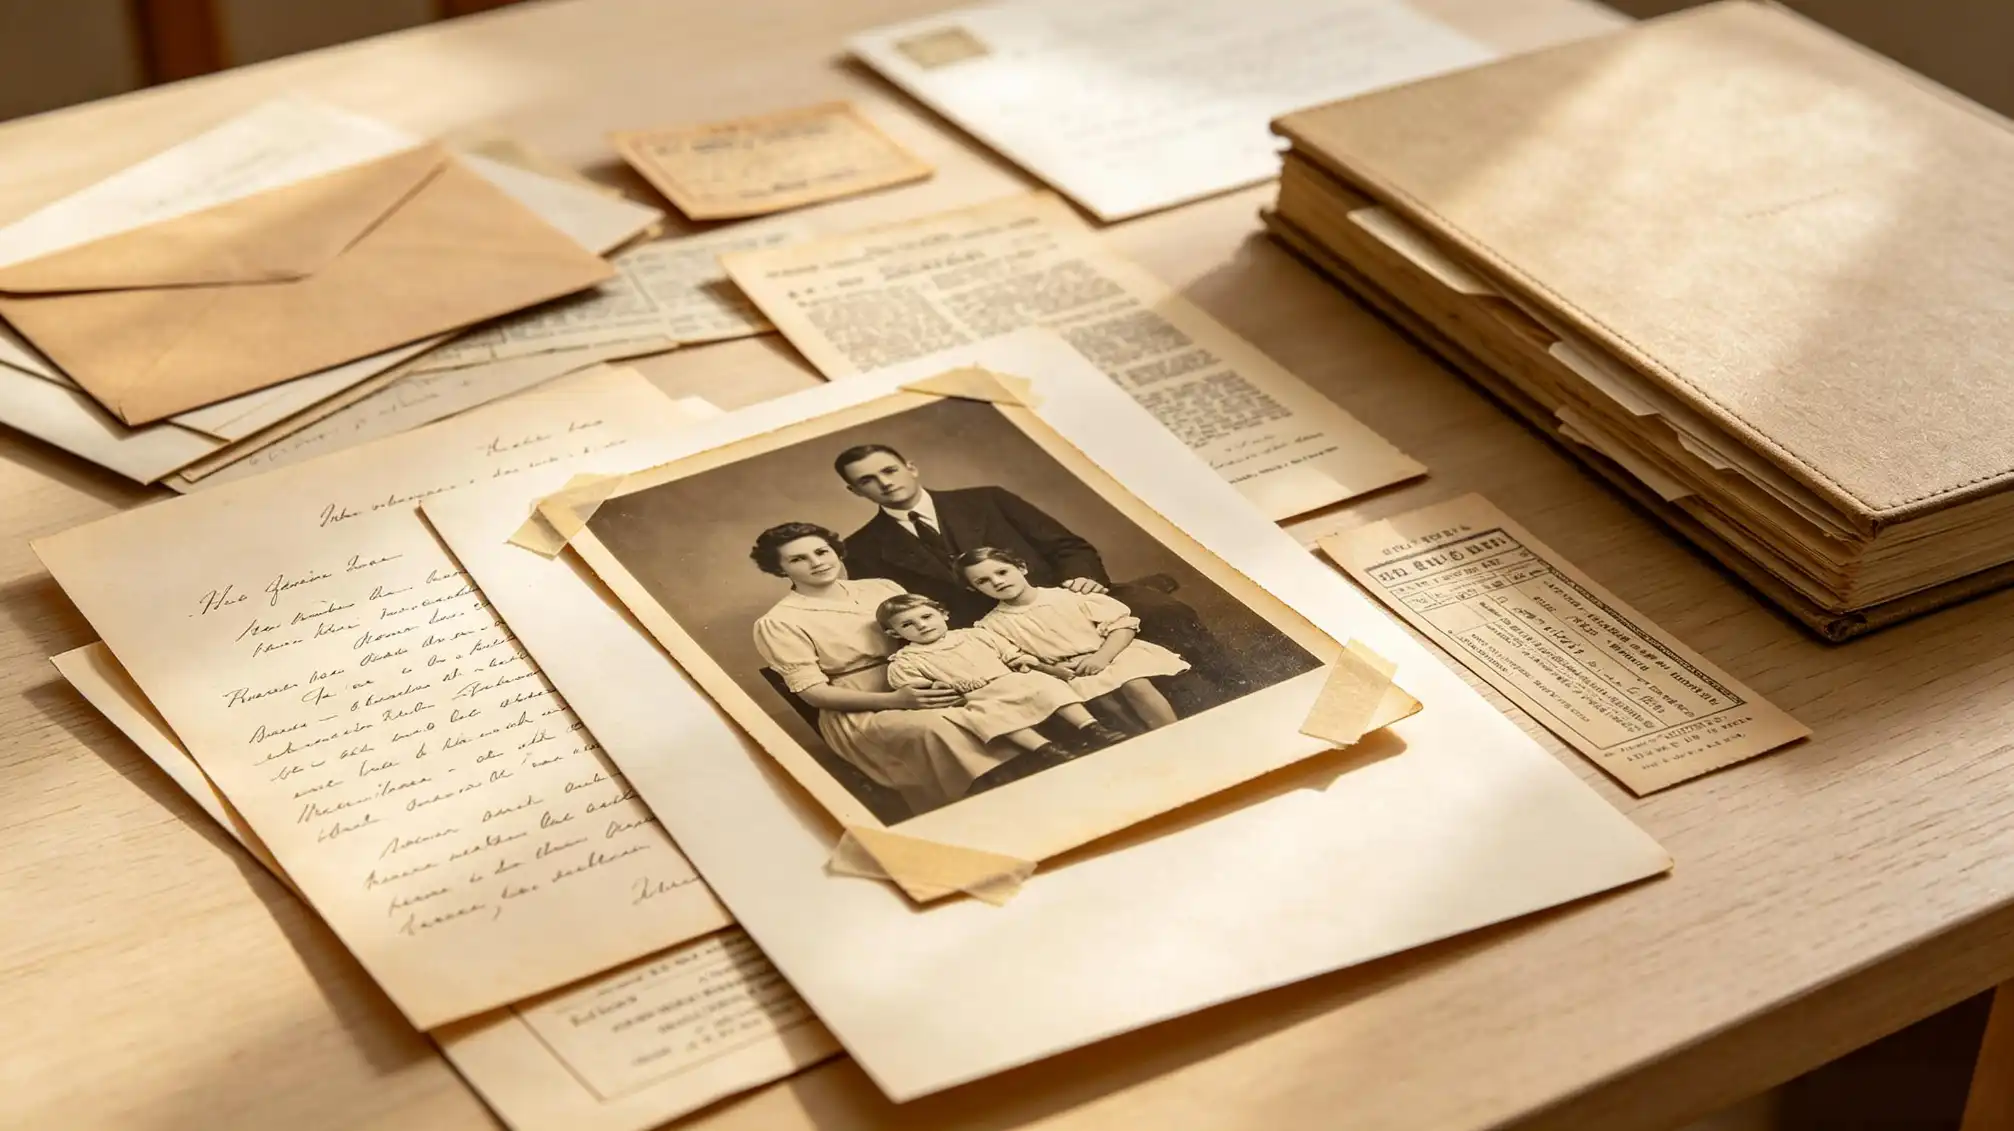
While you talk, ask to see the physical evidence: birth certificates, military discharge papers, naturalisation documents, family Bibles, baptism cards, wedding invitations, and the backs of photographs. Obituaries clipped from newspapers are goldmines because they often list siblings, surviving children, and the town of origin in a single paragraph. Photograph or scan everything you are permitted to copy, and label each file immediately with names, dates, and the person who supplied it.
Step Two: Build a Working Tree Before You Go Hunting
A working tree is a simple chart — on paper or in free software — that holds only what you can currently support with a source. Start with yourself, add your parents, then your four grandparents, and stop. This four-generation limit is deliberate: it keeps beginners from chasing a famous surname across three continents while their own great-grandparents remain undocumented.
For each person, record at minimum a full birth name, a date and place of birth, a date and place of marriage, and a date and place of death. Where a fact is unknown, leave it blank rather than guessing. Blank fields are useful — they are your to-do list, and they tell you precisely which record to look for next. A guessed date, by contrast, can send you down a decade-long detour.
Step Three: Learn to Read Records Like a Detective
Genealogical records were rarely created for your convenience. They were created for taxation, conscription, land transfer, or religious administration, and each one answers a narrow question. Civil registration began at different times in different places; censuses were taken on specific dates and often recorded ages inconsistently; church registers may cover baptisms rather than births. Understanding why a document exists tells you how much weight to give each detail.
Pay attention to informants. On a death certificate, the person supplying the details is often a grieving relative who never met the deceased's parents, which is why maiden names on death records are so frequently wrong. Always prefer records created close to the event, by someone who witnessed it.
Expect name variants. Your ancestors may appear as Catherine, Katherine, Kate, and Kitty in four different documents, and immigrant surnames were routinely shortened or spelled phonetically by clerks. Search phonetically, search initials, and search middle names used as first names. If a search returns nothing, that usually means the name was spelled differently, not that the person never existed.
Step Four: Cite Everything and Verify Before You Believe It
The single habit that separates a reliable family tree from a decorative one is citation. For every fact you enter, note the record type, the repository, the date accessed, and the exact wording used. When a document contradicts what a relative told you, write both down and investigate — do not silently overwrite the family story.
Verification means triangulation: finding at least two independent sources that agree. An index entry is a pointer, not proof; order the original image where you can. Online trees are research leads, not evidence, because errors replicate across them endlessly. Treat every unsourced claim with polite scepticism, including claims in your own file from six months ago.
Step Five: Organise and Preserve as You Go
Genealogy generates paper faster than any hobby except stamp collecting. Adopt one naming convention for digital files, keep one master research log of what you have searched and what you found (including negative results, which save enormous time later), and back everything up in two places. Physical photographs should be scanned at a high resolution, stored flat, and described in writing while someone still recognises the faces.
Recording the stories behind the dates is where research becomes something your family will actually value. When you collect a good anecdote or a recorded interview, save it alongside the names and dates — you can gather and share those memories on our Stories page, which keeps the narrative attached to the person rather than buried in a filing cabinet.
Step Six: Expand Slowly and Deliberately
Once a generation is solidly documented, move to the next one. Set a research question for each session — "Where was Ellen Murphy born?" — and stop when you have answered it. Beginners often burn out because they try to answer twelve questions at once and finish none. Thirty focused minutes a week for a year will take you further than one frantic weekend a decade.
Finally, remember that not every brick wall is a personal failure. Records burn, archives close, and some people genuinely did not want to be found. Document what you know, name the gap clearly, and leave instructions for the researcher who comes after you. That is, in the end, what a family tree is for.