How to Build a Family Tree Starting With the Parents and Grandparents You Already Know
Most people who want to know how to build a family tree assume the hard part is digging through old archives. In reality, the hardest part is usually the beginning: turning scattered memories, half-remembered names, and a shoebox of photographs into a structure you can trust. The good news is that the two generations nearest to you — your parents and your grandparents — contain enough information to anchor an entire tree.
This guide walks you through a practical order of work. You will start with what you already know, build a simple chart, verify details with living relatives, and then extend outward into aunts, uncles, cousins, and further ancestors. No subscriptions or specialist software are required to begin.
Step 1: Write Down What You Already Know
Before you contact anyone or open a browser tab, empty your own memory onto paper. The goal is not accuracy at this stage — it is volume. Every name you can produce becomes a question you can later confirm or correct.
Create one line per person and capture the following details where you can:
- Full name, including maiden names and middle names
- Approximate year and place of birth
- Year and place of marriage, if applicable
- Year and place of death for anyone deceased
- Names of their children, in birth order
Do not stop to fact-check. Mark anything uncertain with a question mark so you can see, at a glance, which entries still need work.
Step 2: Sketch the Skeleton Before You Research
A family tree without a shape becomes a pile of notes. Draw a basic pedigree chart — you as the starting point, two parents above you, four grandparents above them. That five-person skeleton is the spine of everything else.
Keep two rules in mind. First, place each person only once in the main chart, even if a name appears through more than one line. Second, leave deliberate gaps rather than guessing; blank spaces are honest and easy to fill later, whereas wrong names are difficult to spot once they are buried under three more generations.
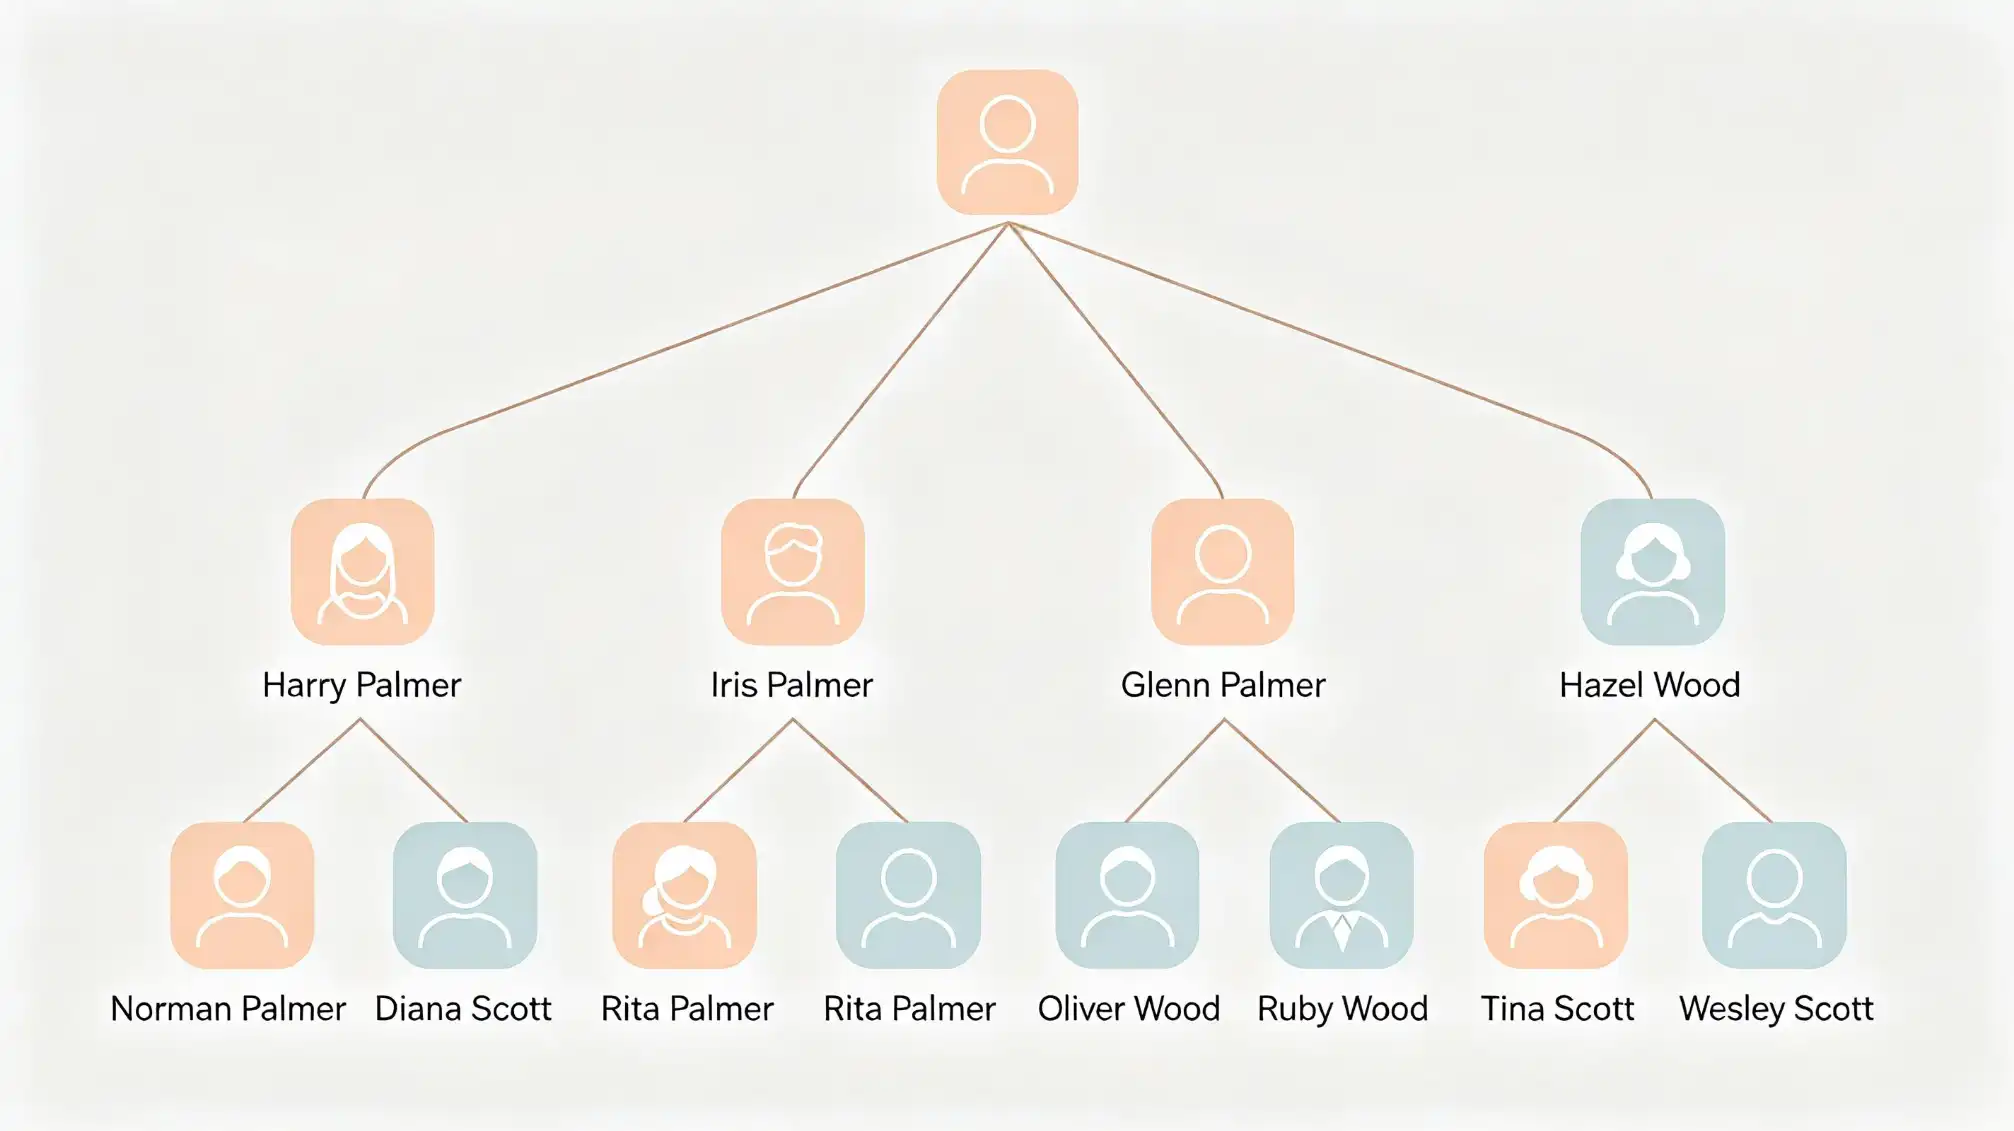
Once the paper version feels stable, you can rebuild it digitally. A dedicated space for relatives makes it far easier to add notes, attach photos, and keep siblings in sync as the tree widens — see the family tools at familylove.love/family.
Step 3: Interview Living Relatives With Specific Questions
Open-ended prompts like "tell me about the family" tend to produce warm stories and few facts. Come prepared with targeted questions instead: what year did Grandad move to the city, what was Grandma's sister called, which church were your parents married in.
Record the conversation if your relative agrees, and take notes even if you do. Ask the same question of two different people where possible — discrepancies between two memories are extremely useful, because they tell you exactly which facts need documentary backup.
Questions that unlock the most detail
- What are the full names of your siblings, and where were they born?
- Where did your parents live when they first married?
- Which relatives did you see regularly as a child?
- Who in the family kept photographs, letters, or documents?
- Was anyone known by a nickname rather than their official name?
That last question matters more than beginners expect. Official records use legal names, while family memory uses nicknames — and the mismatch is a classic reason a search returns nothing.
Step 4: Expand Sideways Into Grandparents' Siblings and Cousins
New researchers usually push straight upward into great-grandparents and stall, because that is where records become scarce. Sideways expansion is often more productive. Your grandparents' brothers and sisters, and their children, frequently appear in the same census pages, obituaries, and photographs as your direct ancestors.
Collecting these relatives does two things: it fills out the tree realistically, and it creates safety nets. An obituary for a great-aunt may name her parents, her siblings, and the towns they came from — precisely the details you were missing one generation up.
Step 5: Record a Source for Every Fact You Accept
A name with no source is a rumour. Every time you enter a date or place, note where it came from — a conversation, a birth certificate, a headstone photograph, a newspaper notice. It takes seconds now and saves hours later.
Use a simple confidence label too: confirmed by document, confirmed by two people's memories, or unverified. When cousins or future generations view the tree, they will know instantly which branches are solid and which are still being tested.
Step 6: Keep the Tree Organized as It Grows
A tree that reaches thirty or forty people needs housekeeping. Scan or photograph documents and name the files consistently — surname, first name, year, document type. Store the images in the same folder structure as your chart so a record for a grandparent sits beside their entry, not in a download folder three levels deep.
Give the tree a periodic review. Revisit your question marks, chase the missing marriage dates, and check that nobody has been entered twice under different spellings. Fifteen minutes a month keeps a small project from turning into an unmanageable one.
Step 7: Share It and Let Relatives Correct It
The most efficient mistake-catcher you have is your family. Share a working version of the tree with parents, aunts, uncles, and cousins and ask them to flag anything wrong. Living relatives spot swapped dates and misspelled surnames in seconds, and some will remember documents and photographs nobody has mentioned in decades.
When a correction arrives, log it as a source — "confirmed by Aunt Marie, phone call, March" — so the change has a provenance rather than appearing by magic.