Family Tree Template: How to Fill One In Without Losing Track
Most family history projects stall in the same place. You have names scribbled in a notebook, a few birth dates you are reasonably sure about, and a folder of scanned photos — but no structure to hold any of it. A family tree template solves that first problem immediately. It gives every person a fixed position, every date a consistent field, and every new discovery a place to land.
This walkthrough covers how to choose the right template, what to prepare before you start filling it in, and how to keep the finished tree accurate enough to hand on to someone else later.
Why a template works better than a blank page
Genealogy is really a data problem dressed up as a family story. The moment you decide where a birth date goes, how surnames are written, and how you mark an uncertain entry, you stop re-deciding those things on every row. That consistency is what makes a tree searchable years later — by you, or by a cousin who inherits the file.
A good template also shows you what is missing. Empty boxes are a research to-do list. Once you can see three generations of gaps at a glance, you know exactly which record to chase next instead of drifting between ancestors at random.
Choose the right layout before you write anything down
Not every family tree template does the same job, and picking the wrong one means re-entering everything later. These are the three shapes worth knowing.
Pedigree charts (ancestors)
This is the classic layout: you on the left, parents to the right, grandparents further right again. It is the best choice if your goal is to trace a direct bloodline back as far as possible. The trade-off is that it has no room for siblings, aunts, or second marriages.
Descendant charts (branches forward)
Instead of looking backwards, a descendant template starts with one ancestor and lists everyone who came after. This format is far better for family reunions, inheritance questions, and DNA match sorting, because it captures cousins of every degree rather than one narrow line.
Fan charts and family group sheets
A fan chart compresses several generations into a circle — visually satisfying and useful for spotting at a glance where a branch dies out. Family group sheets are less decorative but more practical: one page per couple, listing their children, marriages, and sources. Serious researchers usually keep both a chart for display and group sheets for the actual data.
Free templates are usually enough to start
You do not need expensive genealogy software to begin. A free family tree template — whether a printable PDF, a spreadsheet, or a diagram inside a document editor — handles the first few generations perfectly well. The important thing is that the file is editable and that you can add fields, because every researcher eventually needs a column for sources, notes, or maiden names.
Spend the money later, once your tree has grown past the point where a spreadsheet stays comfortable. That usually happens somewhere around the fourth generation, when duplicate names and uncertain dates start colliding.
Gather these details before you start typing
Half the value of a template comes from filling it in one focused pass rather than dribbling entries in over months. Before you open the file, collect:
- Full birth names, including maiden names, for every relative you know
- Birth, marriage, and death dates, with the town or city attached
- Relationships that are not obvious from surnames (step-parents, adoptions, second marriages)
- Where each fact came from — a certificate, a census page, a relative's memory, or a guess
- Photographs, labelled with who is in them and roughly when
Marking something as "unverified" is not a weakness in the tree. It is what stops an error from quietly spreading through five generations.
Filling the template in a sensible order
Start with yourself, then move back one generation at a time. Resist the urge to jump to a famous-sounding ancestor you spotted in an index; working outward from confirmed facts means every new entry has a verified connection to someone already in the tree.
Be consistent with dates and places
Choose one date format and never switch. For places, write from smallest to largest — village, county, country — so sorting actually works. If a border or a name changed over time, note the historical name and the modern equivalent in the notes field.
Record sources alongside names
This is the habit that separates a family history template from a decorative poster. Next to each date, note where it came from. Six months later you will not remember which grandmother supplied which year, and a sourced tree is the only kind you can confidently correct.
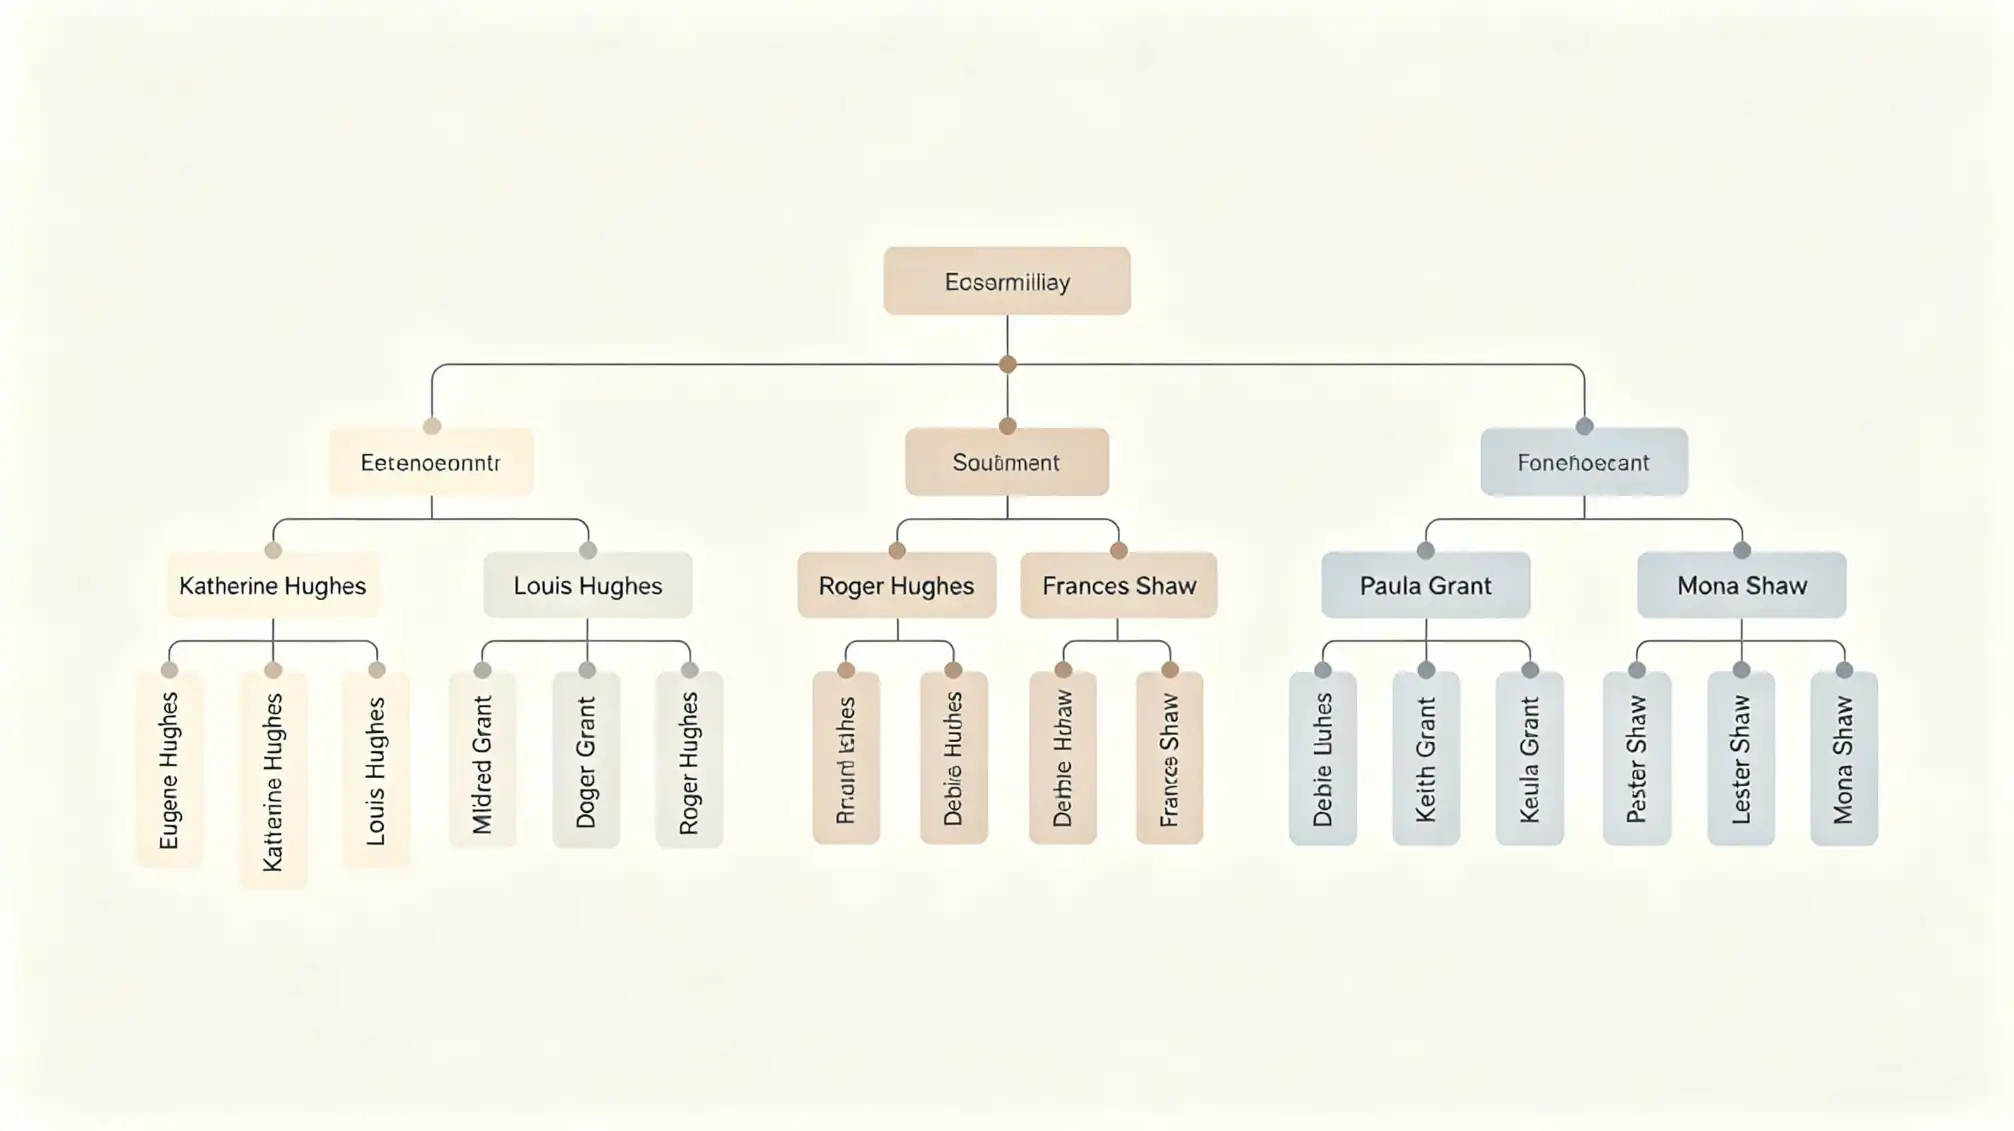
Turn the template into a working research tool
Once the first three or four generations are in place, the chart becomes a map of what you still need. Sort your list of missing facts by how easy each one is to verify, then work through the simple ones first — a marriage record you can order online beats a speculative trip to an archive.
If other relatives want to contribute, the easiest route is a shared workspace where everyone edits the same tree instead of emailing screenshots back and forth. You can invite family members and keep the tree collaborative from the family space on FamilyLove, which keeps photos, notes, and relatives connected in one place rather than scattered across three devices.
Mistakes that make a tree hard to use later
Most of the problems that frustrate researchers years down the line are small and preventable:
- Mixing date formats so entries sort alphabetically instead of chronologically
- Adding a person with no linked parent, creating an orphan branch
- Assuming a shared surname means a shared line — it very often does not
- Copying dates from other people's trees without checking a primary record
- Leaving photographs unnamed, which makes them almost useless after a decade
None of these take long to avoid at the start. All of them take hours to untangle afterwards.