How to Build a Family Tree That Starts With Your Parents and Grandparents
Most genealogy advice assumes you are starting from nothing, digging through distant archives for people you have never met. In practice, the strongest family trees are built from the inside out. You begin with the two generations closest to you, the people whose names you already know and whose memories you can still ask about. Every branch you add later then has something solid to attach to.
This guide covers a clear, repeatable method: collect what your relatives remember, lay out the relationships correctly, verify the details, and keep the whole structure useful for years to come.
Why the Closest Generations Come First
Family trees rarely fall apart because of missing nobility or famous ancestors. They fall apart because the first three generations are wrong, and every later search is built on that mistake. A misspelled maiden name or a guessed birth year can send you down the wrong line for months.
Parents and grandparents solve that problem. They can confirm spellings, explain why a surname changed, and tell you that the woman everyone called Aunt Rose was actually a cousin twice removed. That context is impossible to recover from documents alone.
Step 1: Capture What Your Relatives Already Remember
Before opening any app or template, sit down with your parents and grandparents. Ask for full names at birth, including maiden names, birth years, birthplaces, and the towns where they grew up. Small details, a middle name or the name of a village, are exactly what makes later record searches possible.
Questions worth asking
- What is your full name at birth, and were you named after anyone?
- Where were you born, and where did you live as a child?
- What are your parents' full names, occupations, and approximate birth years?
- Do you have brothers and sisters, and where do you fall in the order?
- Which relatives moved away, changed names, or remarried?
- Are there photographs with people you can still identify by name?
If your relatives agree, record the conversation. A voice recording preserves pronunciations, nicknames, and quick corrections that written notes often lose. Ten minutes of recorded storytelling can be worth more than a week of online searching.
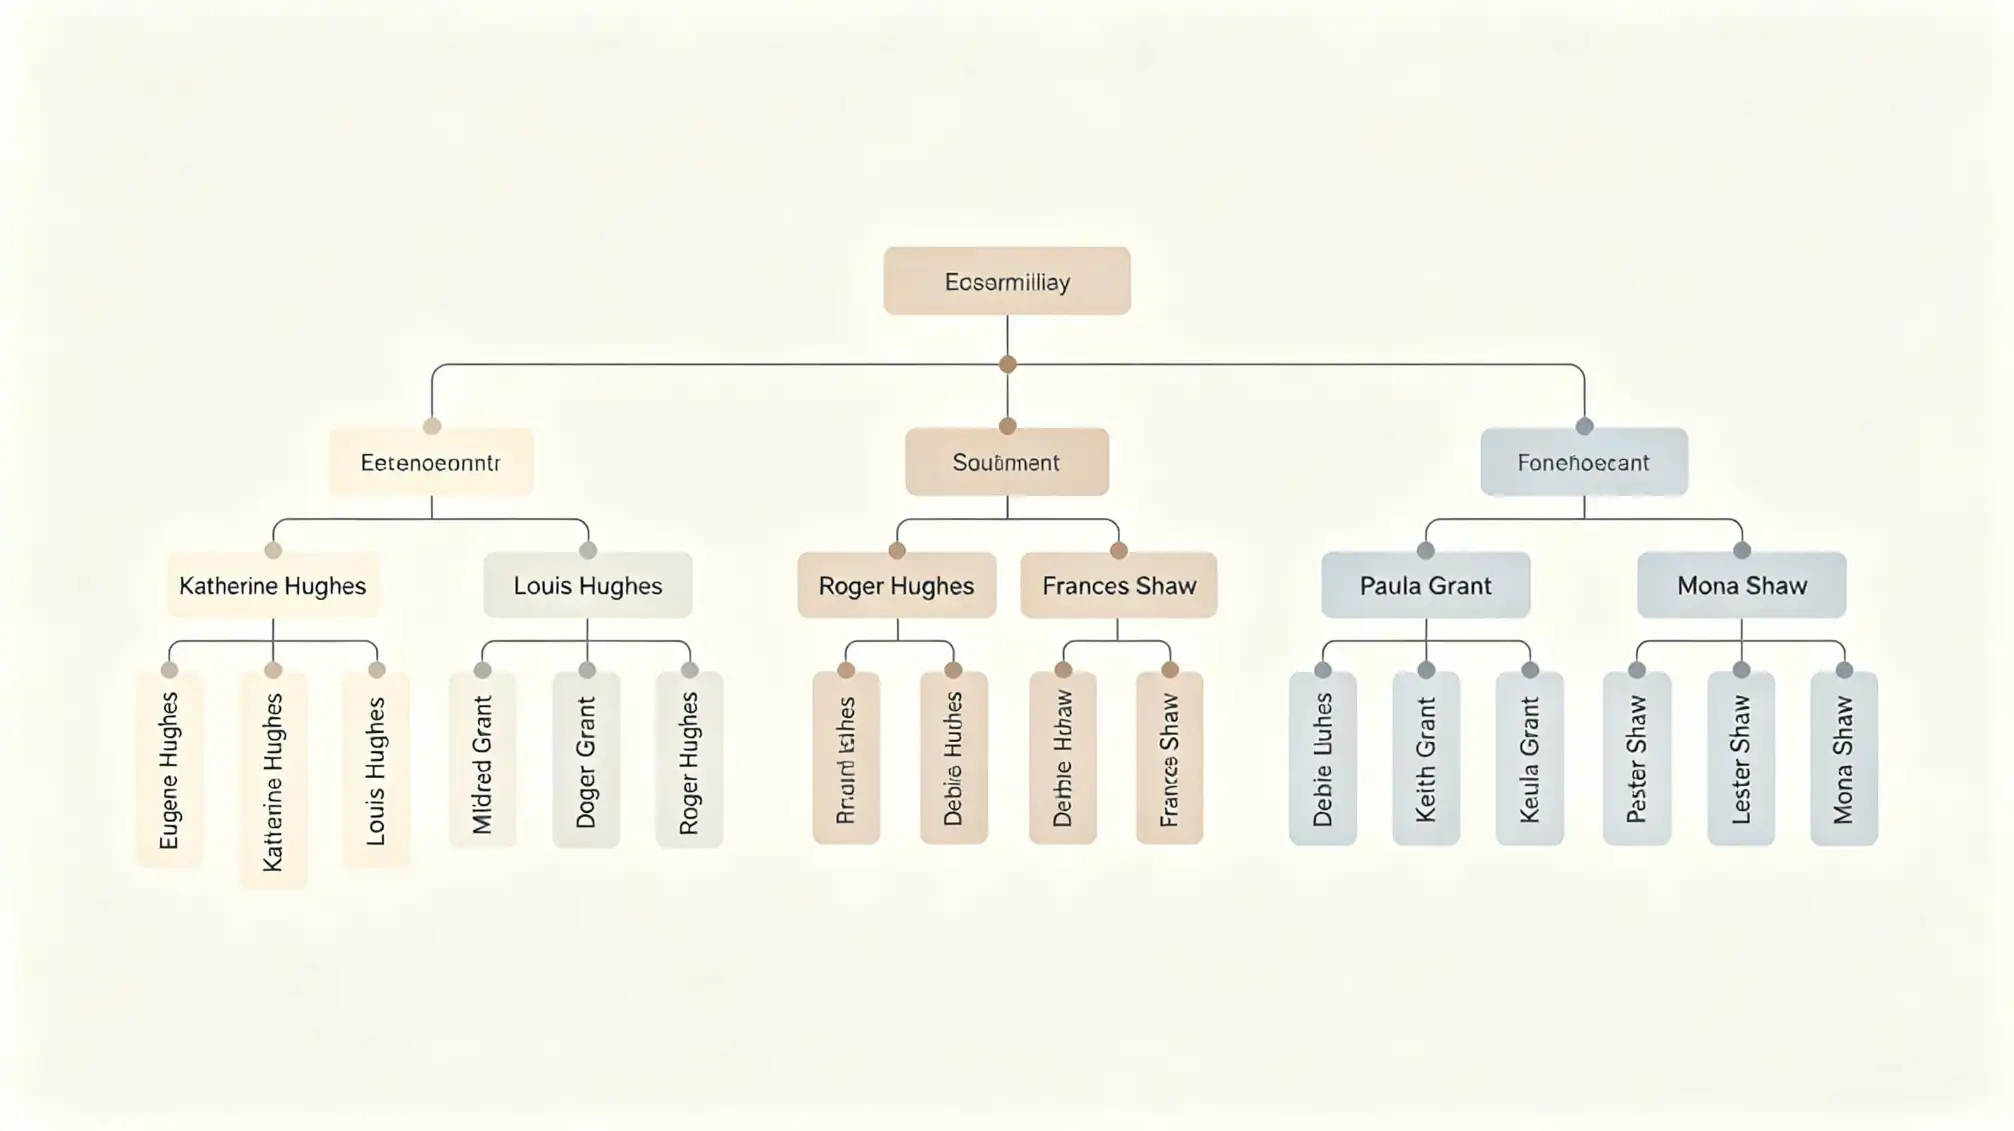
Step 2: Lay Out the Relationships Before You Add Detail
Once you have the names, resist the urge to chase every side branch. Build the skeleton first. Structure keeps a family tree readable and prevents duplicate entries, which is the most common mistake in early research.
A simple three-generation layout
Place yourself in the middle. Directly above you, one row for your parents. Above them, one row for your four grandparents. Each person gets a full name, a birth year, and a birthplace, and nothing else until the structure is complete.
From there, work sideways. Add your parents' siblings on the same row as your parents, and their children one row below. Then repeat for your grandparents' siblings. Working generation by generation keeps the relationships consistent and makes gaps obvious.
If you are tracking siblings, cousins, and in-laws across several households, a shared space to organize those connections helps a lot. The family page is a straightforward place to log relatives and keep each household's details in one view.
Step 3: Verify Names and Dates With Real Records
Memory is a starting point, not proof. Relatives mix up decades, and official documents sometimes disagree with each other. Treat every detail you collected as a lead to confirm rather than a finished fact.
Where to look first
- Birth, marriage, and death certificates held by family members or civil registries.
- Census returns, which list households together and reveal addresses and occupations.
- Immigration, naturalization, and passport records for relatives who moved countries.
- Baptism, burial, and cemetery records kept by churches or local archives.
- Newspaper announcements for weddings, anniversaries, and obituaries.
- Family photographs, letters, and address books with dates written on the back.
When two sources conflict, note both versions instead of silently choosing one. A short note such as "birth year listed as 1912 on the certificate, 1913 on the census" saves you from repeating the same research later. It also signals to anyone else reading the tree that the detail is uncertain.
Step 4: Keep the Tree Growing and Accurate
A family tree is never finished, but it does need maintenance. Set a simple routine: add new births, marriages, and deaths as they happen, and revisit one uncertain branch each month. Small, regular updates prevent the backlog that makes people abandon a project entirely.
It also helps to decide early how much you want to share. Some relatives are happy to be listed with full dates, others prefer just a name. Asking first keeps the tree accurate and keeps the people in it comfortable with the result.
Finally, back up whatever you build. Export a copy of the tree and store the photos and recordings somewhere separate, so a single lost account does not erase years of work.