Family Memories That Stay: How to Build a Shared Space Your Whole Family Uses
Every family has a shoebox. Maybe it's literal — a battered cardboard box of curling snapshots and one unexplained lock of hair. Maybe it's digital: a phone camera roll with 14,000 images, no dates, no names, no context. Either way, the memories exist. The problem is that nobody can find them, and nobody can add to them.
A shared family memory space changes that. It's one agreed-upon place — part wall, part website — where your story lives, grows, and gets passed around at dinner. Here's how to build one that a five-year-old and an eighty-year-old can both enjoy.
Why One Shared Space Beats Ten Scattered Ones
When family photos are spread across three phones, two cloud accounts, and a kitchen drawer, the story breaks into fragments. Nobody sees the whole picture, so nobody feels like the keeper of it. Memory becomes a chore owned by one guilty person — usually the parent who already has too much to do.
Gather everything into one visible, accessible place and something shifts. Kids start pointing at faces and asking questions. Grandparents start volunteering details nobody thought to write down. Cousins start sending in photos because they finally know where to send them. That's the real goal: not a perfect archive, but an active one.
Step 1: Choose the Spot — Physical, Digital, or Both
The best family spaces are usually a pair: one spot you can walk past, and one you can reach from anywhere.
The physical spot
Pick a wall everyone passes daily — hallway, stairwell, kitchen side wall — and treat it as your memory wall. Frame a rotating set of prints, hang a small shelf for a memory jar, and leave a hook for a clipboard where anyone can pin a note about a moment worth keeping. Rotating is the secret. A wall that never changes becomes invisible within a month.
The digital spot
Choose one shared album, folder, or family site and make it the single destination. Then communicate it plainly: "Everything goes here." The moment you maintain two or three digital homes, the whole system collapses.
Step 2: Gather First, Organize Later
Most projects stall because people try to sort while they collect. Separate the two jobs. Gathering is fast and social; organizing is slow and solitary. Do the fun part first.
- Set a two-week collection window and ask every household for whatever they have, unsorted.
- Scan in batches of twenty — small enough to finish in one sitting, large enough to feel like progress.
- Record what you know while the person who knows it is still in the room.
- Save one "mystery pile" for photos you can't identify yet. Solving them later becomes a family game, not a blocker.
Step 3: Invite Every Generation to Contribute
A memory space owned by one person is a hobby. A memory space owned by everyone is a tradition. Make contribution easy and specific:
- Give each child a job — photo finder, caption writer, sticker designer.
- Ask older relatives for one story per month, by voice message if writing feels like work.
- Let teenagers curate. Their taste will make the space feel current instead of museum-like.
- Celebrate additions out loud. "Look what Grandpa sent" does more than any reminder email.
Step 4: Let the Digital Side Do the Heavy Lifting
Paper fades; digital copies travel. The most durable version of your family history is the one that exists in more than one place and can be shared with a link. That's why so many families end up building their archive online — scanning old prints, naming the people in them, and connecting each photo to the larger family tree.
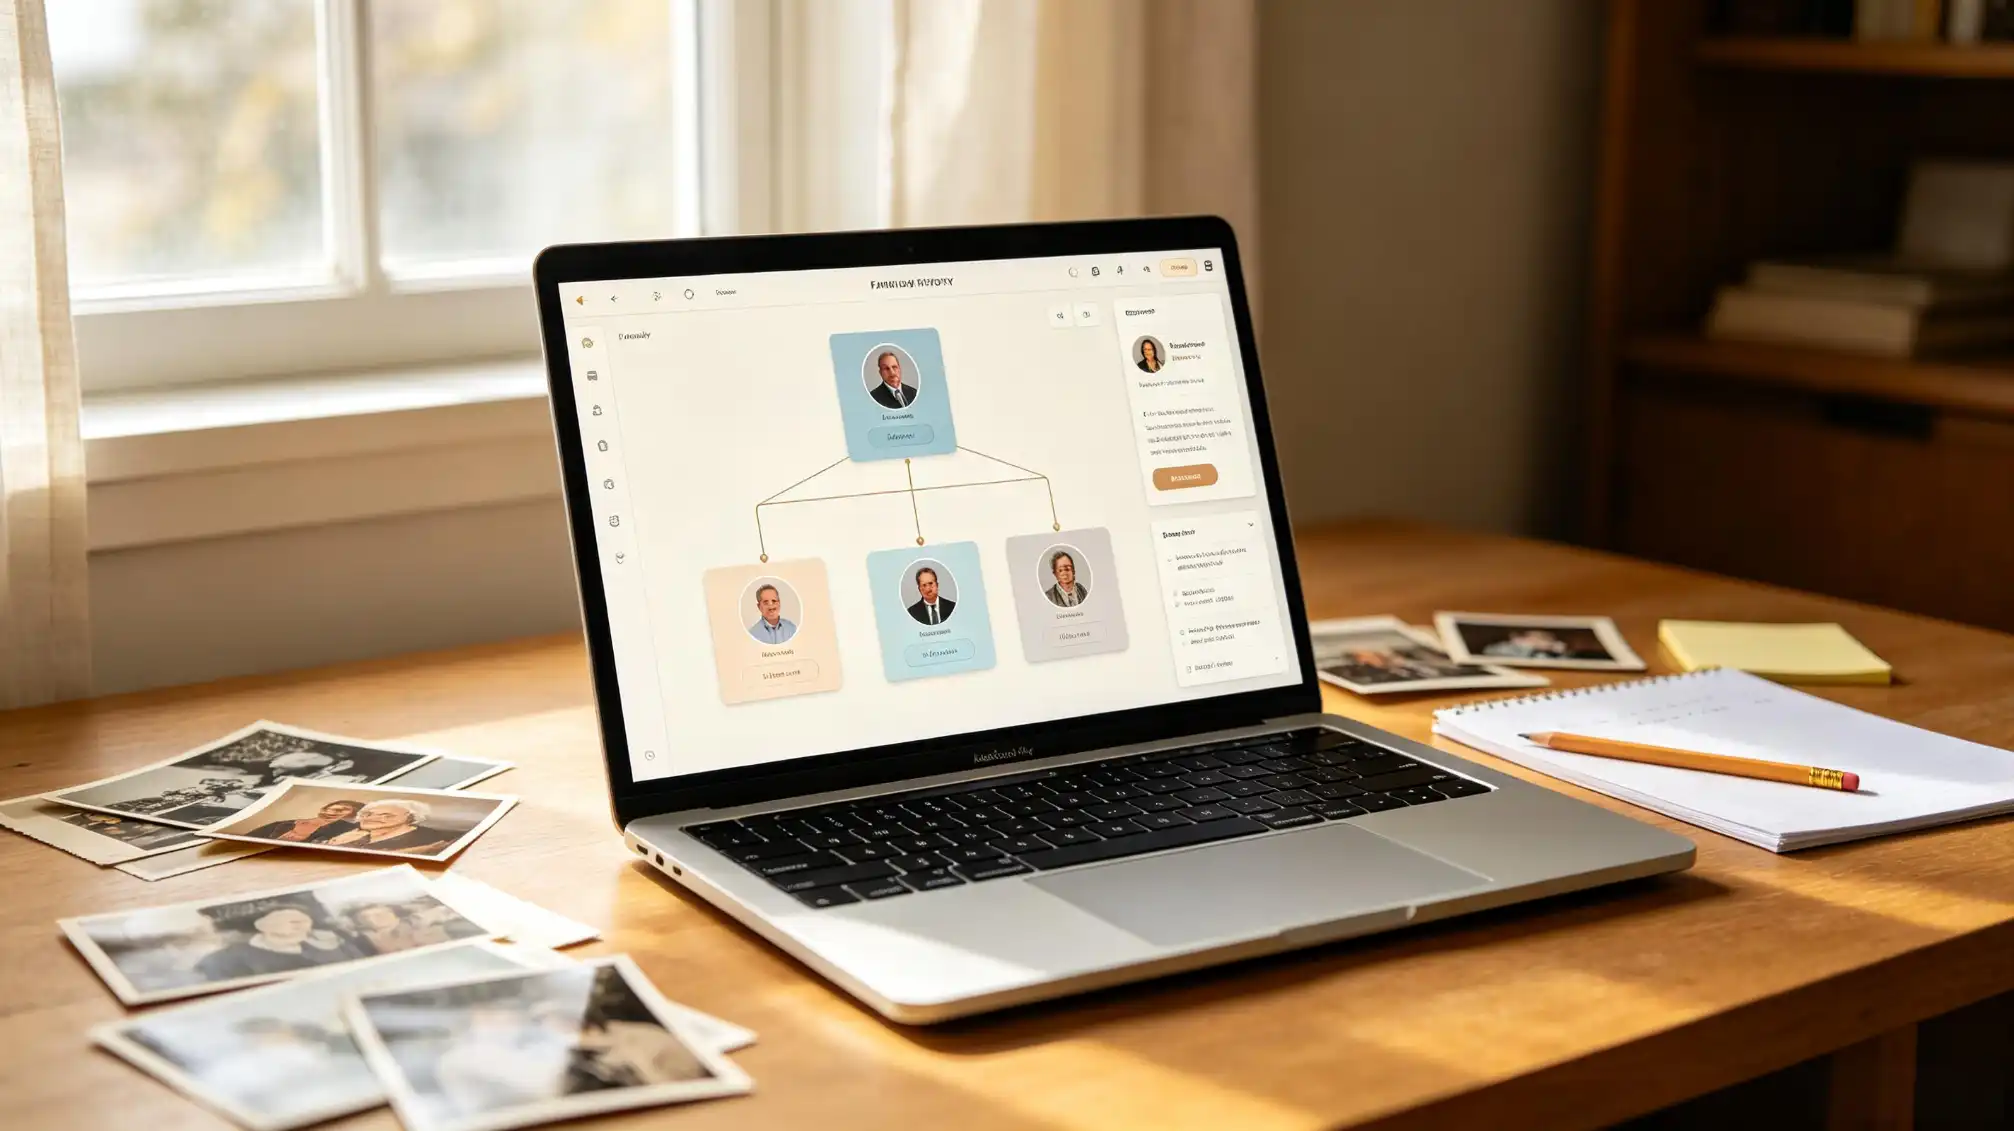
Keep backups simple: one cloud copy, one external drive, one shared album. Label files with names, places, and rough dates so future relatives don't inherit a folder of IMG_4471. When you're ready to put the stories behind the pictures somewhere the whole family can read them, start with your family stories — it's the natural next step after the photos are gathered.
Step 5: Give the Memories a Voice
A photo shows what someone looked like. A sentence tells you who they were. Add captions — not just names, but one human detail: "She laughed like this every time the dog stole the ball." Those lines are what turn a collection into something people actually want to browse.
Record audio whenever you can. Ten minutes of a grandmother describing her first job is worth more than fifty photographs, and it takes less effort than people expect. One cousin I know summed it up perfectly while flipping through her family's shared album: "This is my family history, finally in one place." That sentence is the target.
Step 6: Keep It Alive With Small Rituals
- Monthly swap: change the physical wall prints on the first weekend of each month.
- Birthday spotlight: post five photos of the birthday person and ask relatives to add a memory.
- Holiday upload: before every gathering, everyone adds their best photo from the last twelve months.
- Annual review: once a year, back everything up and print a small book or calendar.
Traps That Quietly Kill the Project
- Perfectionism. Waiting for the perfect system means never starting one.
- Gatekeeping. If only one person can add or edit, everyone else disengages.
- No ownership. Assign a gentle "memory keeper" who checks in monthly — not a sole archivist.
- Guilt. A half-organized space that gets used beats a flawless one that doesn't.
Start smaller than feels impressive. One wall, one shared album, one story written down this week. Family memories aren't preserved by a single heroic effort — they're preserved by a place everyone knows about and everyone keeps adding to.