Family photos have a way of arriving by surprise. You might open a drawer and find a stack of faded prints, some stuck together by decades of warmth, others still holding the paper notches of an old album. Before you start any restoration project, stop and let the moment land. These images are not clutter; they are a looking glass into your ancestors. You are not just organizing old paper. You are becoming the keeper of family history.
Most people hear “preservation” and think of gloves, acid-free boxes, and expensive scanners. But at the centre of every family archive is the same quiet need: someone wants future generations to remember a face and hear a voice. This guide pairs simple photo preservation habits with a memory-minded practice, so your family photos stay connected to the lived stories behind them.
Start with a Memory Audit
Spread your family photos across a clean, dry table in natural light. Resist the urge to start scanning immediately. Instead, look at the faces and let yourself notice what matters. Who appears most often? Who is missing? What places keep showing up? These questions make the physical collection feel like a conversation.
Keep a small notebook nearby as you page through the collection. Record the details you remember, and be honest about what you do not know. If a name is uncertain, write down your guess and mark it with a question mark. If handwriting on the back mentions a city, a bakery, or an uncle’s old car, keep those words exactly as they are. They are clues for the next generation of family history detectives. This memory audit turns photo preservation from a cleaning job into a listening session.
Avoid Three Common Preservation Traps
Before you begin scanning, let the mistakes of previous decades teach you caution. A little restraint now will save your family history later.
- Do not repair a torn print with plastic tape. Use archival tape or leave the tear alone until a professional can help.
- Do not hold photos together with rubber bands or rusty paper clips. They leave marks and create pressure spots on the faces you care about.
- Do not store the original in a plastic grocery bag or in a room where heat and humidity gather. Give family photos a quiet box that breathes.
Scan Family Photos in Layers
A good scan is a second life for a family photo. The original can rest safely while you share, zoom, and restore the digital copy. Start with a flatbed scanner. Use 300 dots per inch for a standard print and 600 dpi for small prints or faces you may want to crop later. Scan the back of the photo as well if it carries handwriting, a stamp, or any family texture.
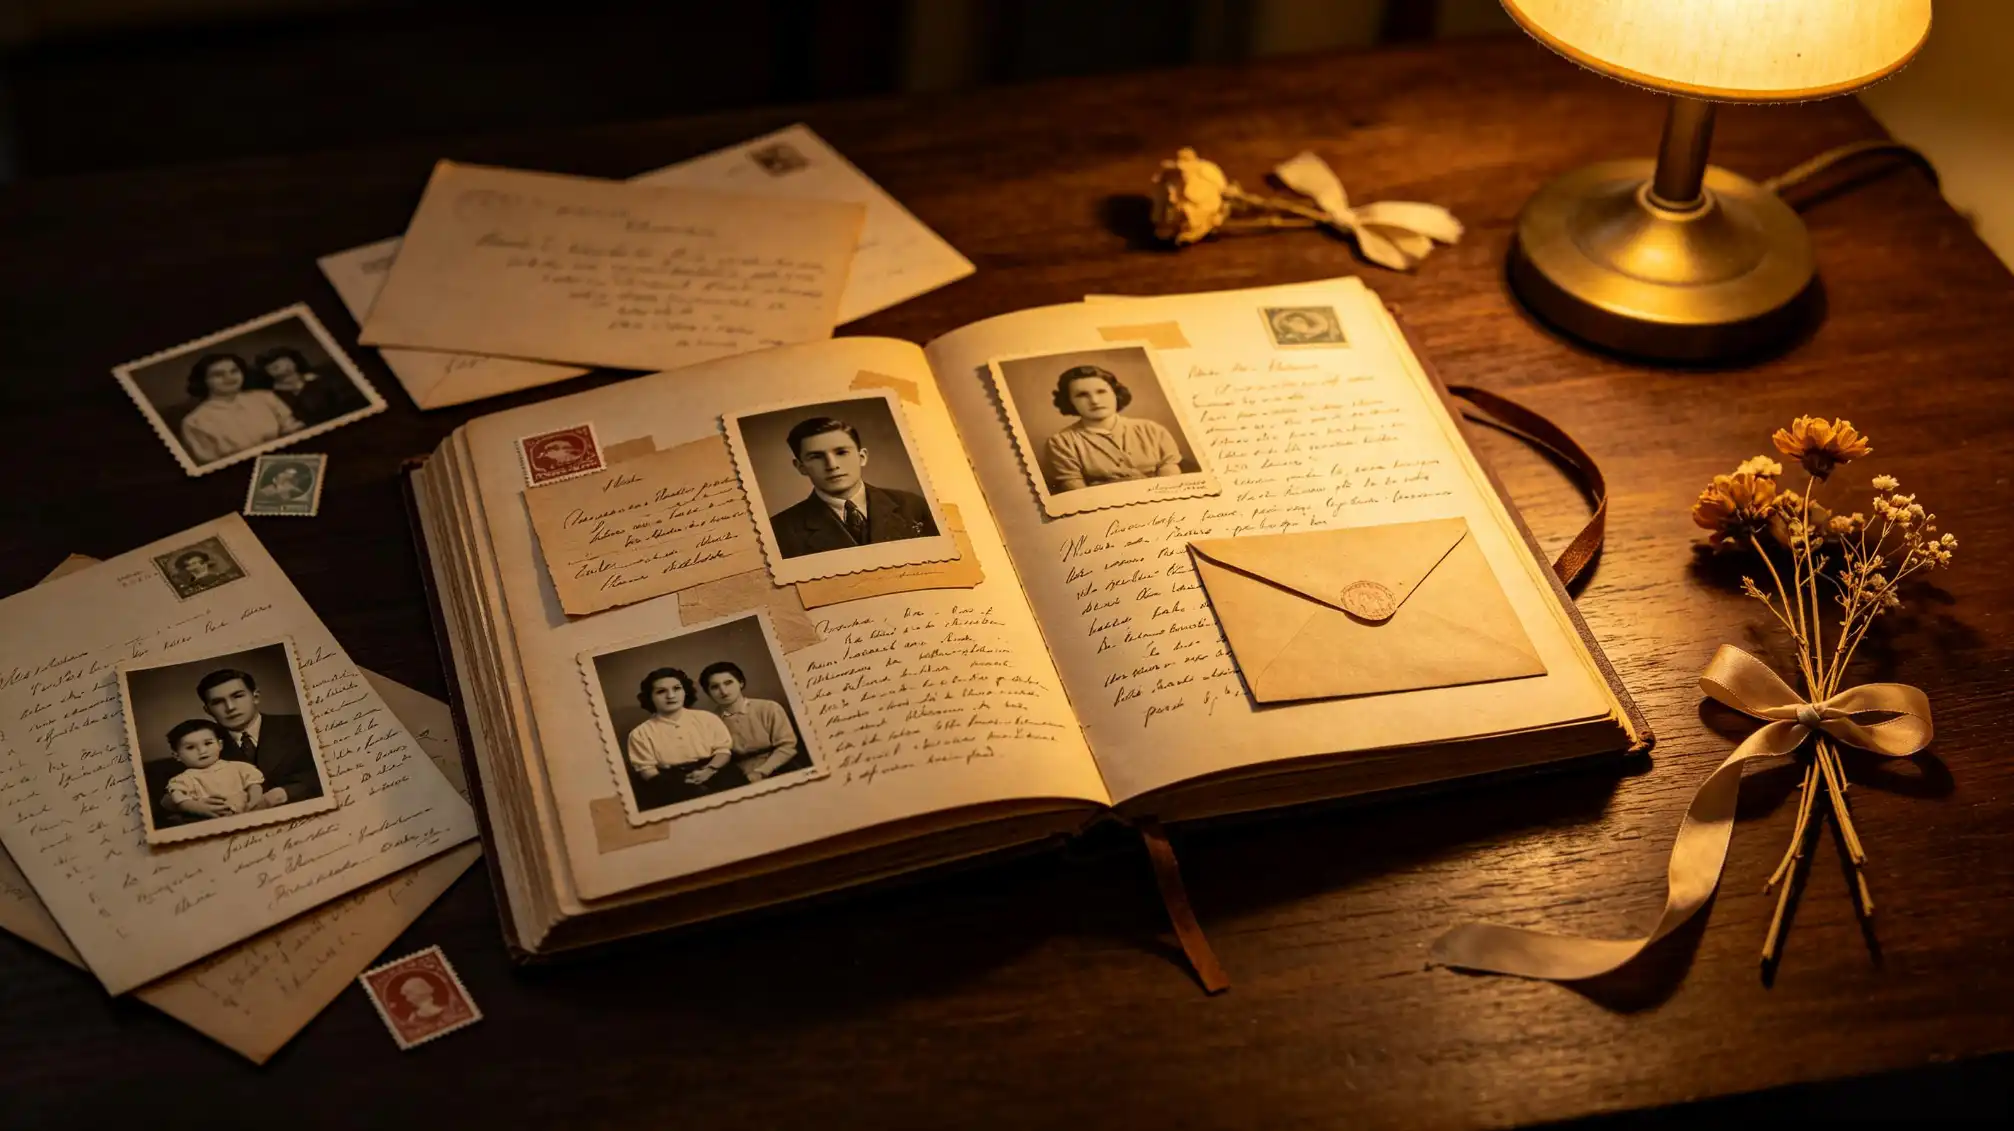
Save your master scan in a lossless format, such as TIFF, and create a separate JPEG for sharing by email or text. Naming matters as much as resolution. Instead of img_0021.jpg, use a pattern like 1952-08-14_lake_wedding_mary.tif. It may feel slow at first, but every clear name helps future relatives locate the exact moment they are looking for.
Make the Digital Archive Easy to Search
Once you have scanned a handful of family memories, create an index file. A simple spreadsheet with columns for file name, date, location, people, event, and notes gives your family photos a searchable home. If you are working with older relatives, let them help you fill in the columns. Their memory is still the richest database you will ever own.
Keep the original prints and the scanned copies separate, with visible labels on both. If the original already has writing on the back, do not add another layer of ink or marker. Scan the back first, then place it gently in an archival sleeve. The index can keep the conversation alive without harming the paper.
Store the Originals in a Calm Place
After scanning, protect the original. Old family photos like stable places: not too hot, not too wet, not in direct sunlight. Put prints in archive-safe sleeves and store them upright in a closed box. A closet in a dry bedroom works much better than an attic or basement. If you keep photo albums, you can add a small silica packet to the box to reduce moisture without touching the images.
Keep a separate backup of your scans on an external drive and in cloud storage. Think of it as a second memory for your family. If the original ages or is damaged, the backup allows your family memories to continue without losing the physical piece.
Let an Older Print Keep Its Texture
When you edit your scans, remove dust and major scratches if you like, but resist the urge to smooth every grain. Chemical stains, folds, and faded corners in family photos are evidence of their passage through time. They survived a pocket, a drawer, a wedding, a flood. Perfecting the image can erase the same texture that connects you to ancestors you never met. Create two versions if needed: one cleaned for sharing, and the original scan for the family archive.
Turn Family Photos Into Shared Family Memories
A folder full of TIFF files is still only a folder until someone opens it with curiosity. Choose one or two photos and invite your family to sit with you for ten minutes. Look at the back together and read any handwriting aloud. Ask each person what they notice first. Children often point out details adults ignore, and older relatives can fill in missing names and dates.
For a more lasting version of this conversation, the stories page at Family Love is a helpful place to build a shared record. You can post a scanned family photo, add what you know, and let relatives contribute their own memories in their own words. This small step turns preservation into an active family history practice.
Preserving family photos is tenderness. You are choosing what the next generation will hold onto: a name, a face, a moment. Start with one photograph, give it a clear name, and let the process grow from there.