Every box of old family photos is a small time machine. One faded print can remind you of the sound of your grandmother’s kitchen, the name of your great-uncle’s dog, or exactly how sunlight moved through a window in 1962. Preserving family photos is not only about keeping the paper from yellowing; it is about keeping your family history visible and meaningful for the next generation. This guide invites you to care for those old images with a practical, loving method that places family memories before scanners, boxes, and labels.
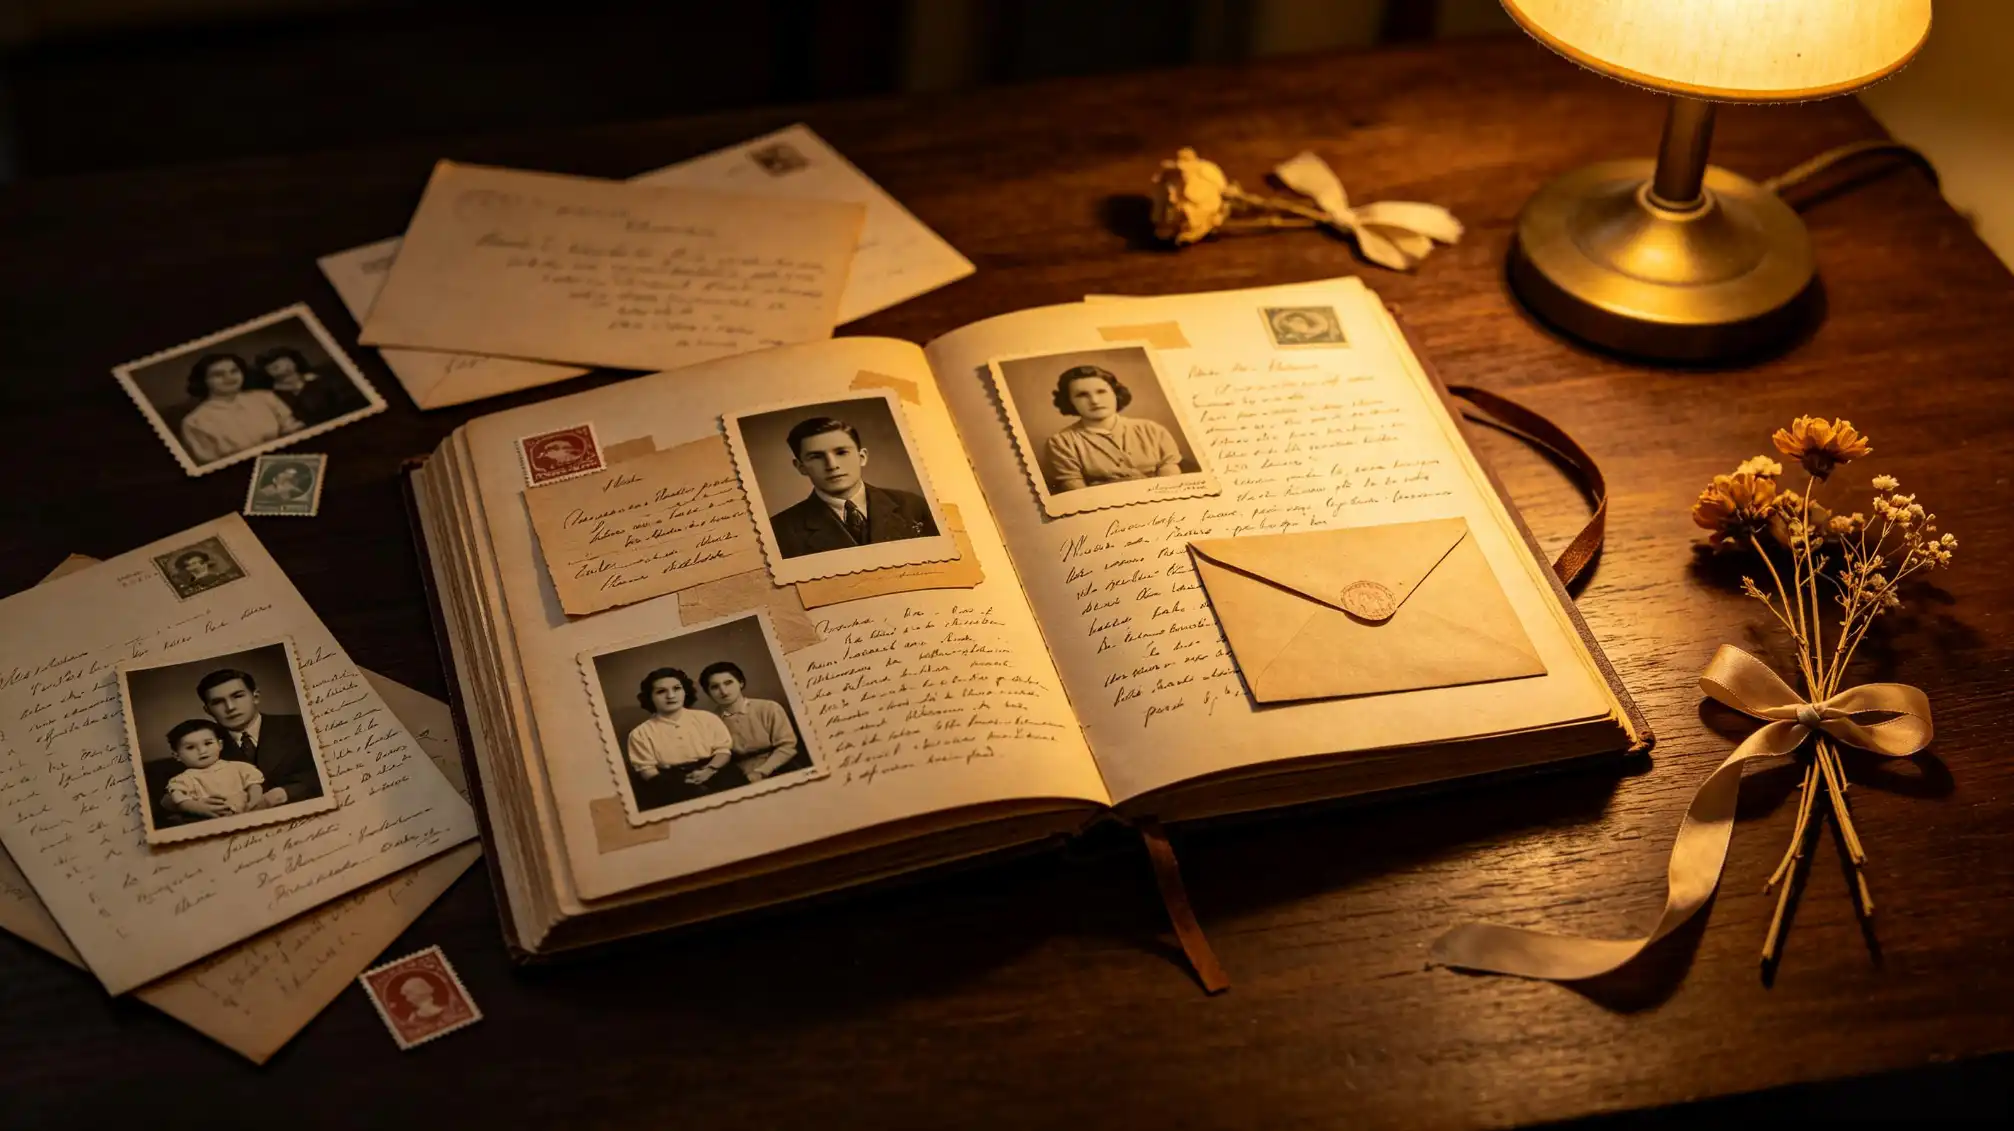
Start With the Story, Not the Scanner
The most valuable part of an old family photo is often invisible: the memory behind it. The names, the jokes, the small rivalries, the scent of the house—these details are held by the people you love. So before you buy acid-free sleeves or choose a scanner, spend an afternoon listening. Spread the oldest family photos on a table, invite a grandparent or an aunt, and record the conversation with your phone. Ask quiet questions such as “Who is standing here?” and “What happened just after this picture was taken?” Those spoken answers become the foundation for everything else you do.
If you cannot visit in person, schedule a short video call. Hold the photos up one at a time and let the storyteller take the lead. You might be surprised how quickly one memory unlocks another.
Sort by Faces and Family Branches Before Dates
It is tempting to arrange old family photos by year, but exact dates are often missing. A simpler method is to sort by the faces you recognize. Create one pile for each grandparent, great-grandparent, or family branch. Put loose photos of the same household together and group look-alike cousins nearby. Sorting this way helps you see ancestors as real people in a living web of family history. You will notice how often families moved together, shared holidays, and kept traditions across generations.
When a photo is unknown, do not force it into a decade. Place it in a “can you help?” pile and ask relatives later. Never throw an unidentified photo away; someone in the future may recognize the background or the dress.
Digitize Old Family Photos With Care
Digitization gives your family photos a second life. If you scan at home, choose 300 dpi for regular prints and 600 dpi for small or detailed photos. Save the master scan as a TIFF or high-quality PNG, then make JPEG copies for sharing. Clean the scanner glass before you start, use cotton gloves if you have many boxes, and handle each photo by its edges. If a print is very fragile, scan it gently without pressing down hard. You are creating a respectful digital copy, not a restoration project for the original.
For a large collection, professional scanning services can save time, and your local historical society often has advice for family history projects. If you decide to do it yourself, work in short sessions so you can keep track of names and comments without feeling rushed.
Store Physical Originals in Photo-Safe Materials
After digitization, treat the original photo as the heirloom it is. Store prints in acid-free, lignin-free boxes, and place each photo in an archival sleeve made from uncoated polyester, polypropylene, or Mylar. Avoid PVC pockets and old magnetic albums; their chemicals can stain and stick to a photo over time. Keep the collection away from attics, basements, radiators, and direct sunlight. A steady room temperature with moderate humidity is far better for old paper than a sealed archive. Write the family branch name on the outside of each box so the archive remains easy to navigate.
If you notice mold, sticky album backs, or signs of damage, separate those photos from the healthy collection. Store them in their own paper bags and ask a professional archivist for advice before attempting any cleaning.
Annotate While You Still Know the Details
Labels are one of the most generous gifts you can give future generations. On the back of a print, use a soft graphite pencil or an archival marker; never use ballpoint pens because they can leave indentations that damage the print. Write names from left to right, or say “back row, second from the right” before the names. If you prefer not to write on the original, place a small note inside the protective sleeve and match it to the digital copy. The goal is to make every face belong to a name, every name open a story, and every story enrich your family history.
Turn Paper Prints Into Living Family Memories
After you organize, scan, and store the pictures, do not let the stories remain trapped in a box. Make them accessible to the people who matter. For example, choose one branch of the family tree each month, gather twenty related family photos, and share them with relatives through a private space. This is a natural point to use the FamilyLove stories page as a practical filing cabinet for the memories behind your favorite images. It lets you attach captions, anecdotes, and names to each photo while inviting relatives to contribute their own versions. In that way, your family photos keep growing even after the originals are safely stored.