Your Family’s Footprints: A Practical Guide to Tracing Ancestors
Most people believe tracing ancestors begins with a subscription to a genealogy website. It doesn’t. It begins with a cardboard box in a closet, a date scribbled inside a Bible, or a story your grandmother told at a wedding. The process of building a family tree is not about digging up names from databases first. It is about gathering evidence, questioning assumptions, and connecting fragments into a coherent line that you can defend and share.
This guide takes you through the most effective way to trace your ancestors step by step, using a sequence that professionals rely on but that any determined beginner can follow.
Step 1: Start With What You Already Own
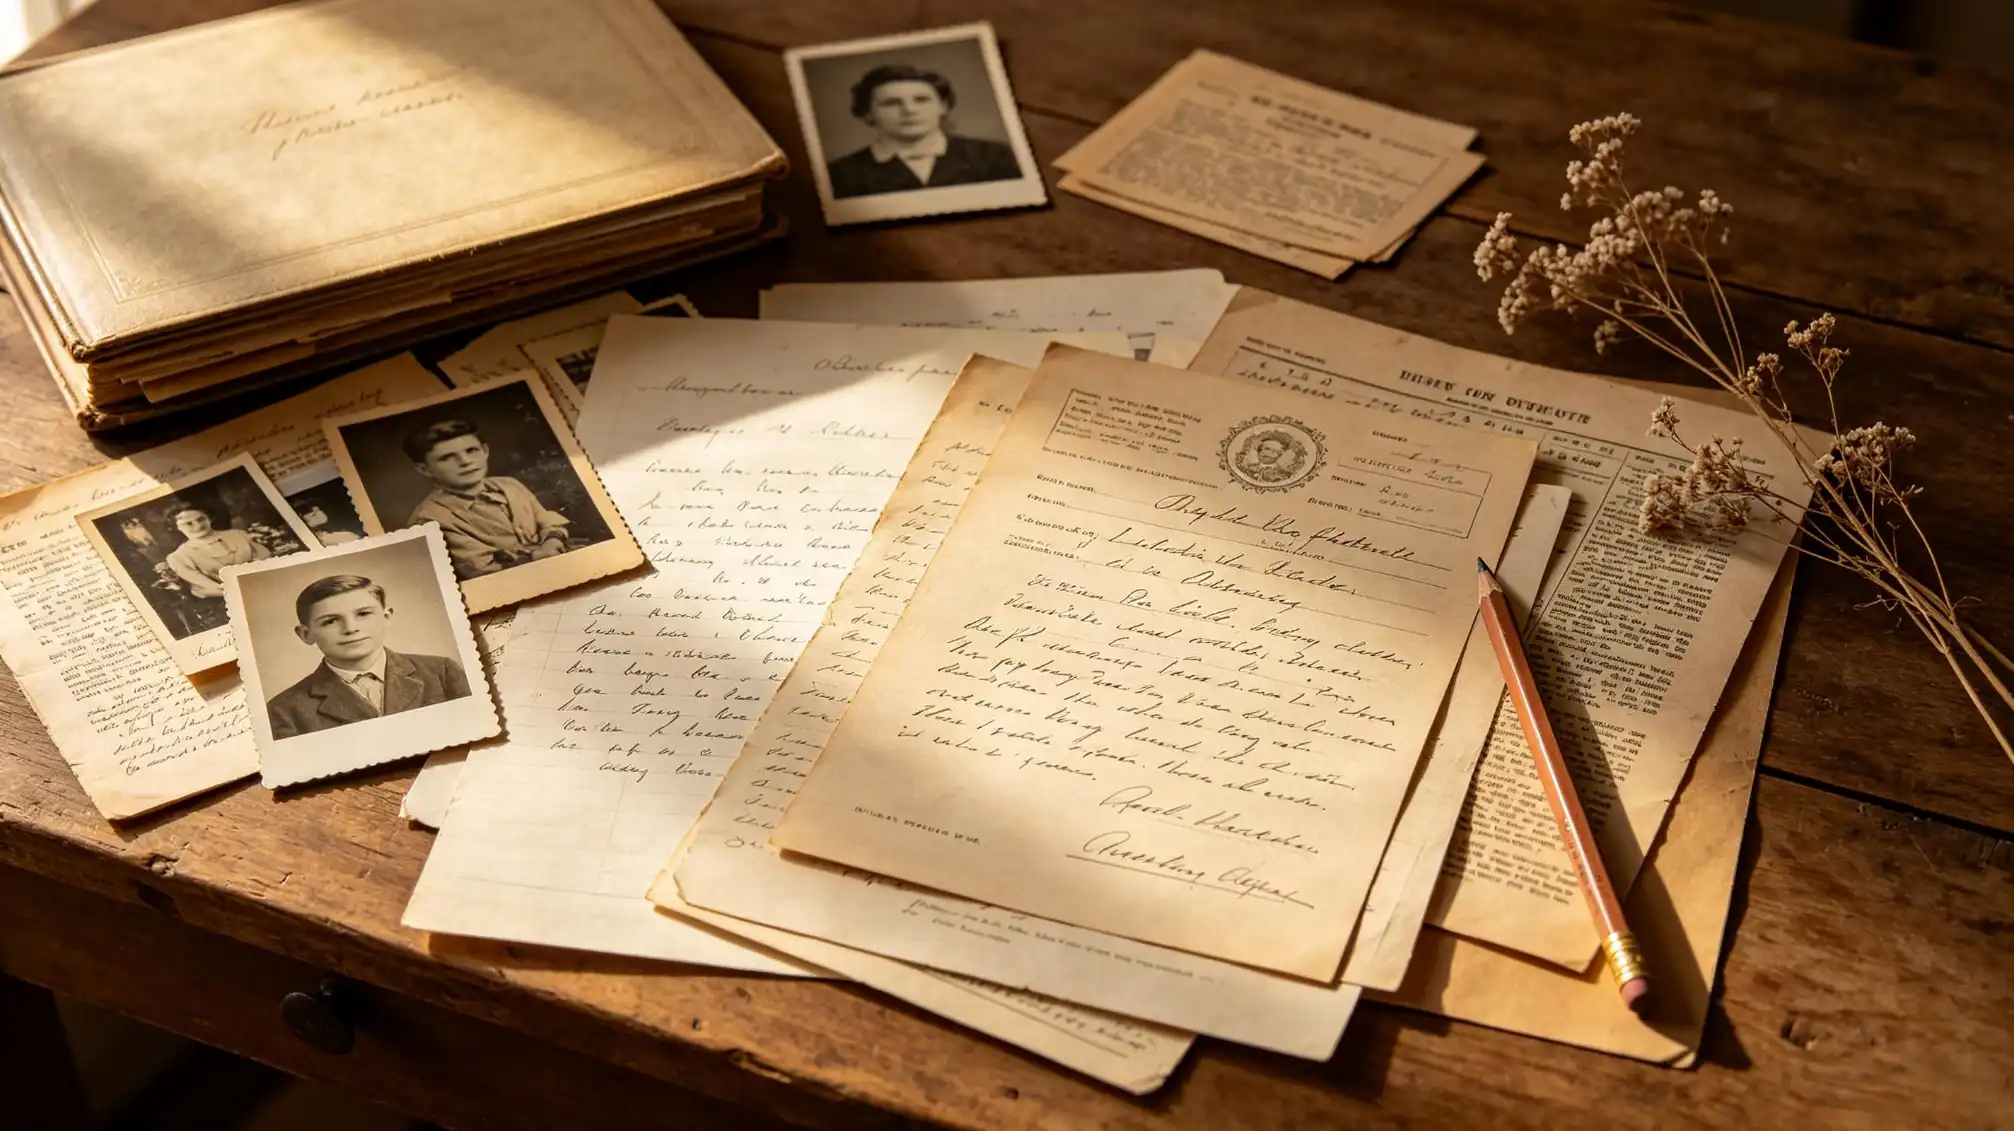
Before you search the internet, search your own home. Birth certificates, marriage licenses, funeral cards, old letters, passports, land deeds, even a handwritten family recipe can hold genealogical clues. Do not limit yourself to official documents. A letter with a return address from 1942 tells you where a relative lived. A photograph with a studio stamp can indicate a city and time period.
Create a simple inventory of what you find. For every item, record the names mentioned, the dates, the places, and the relationships implied. This becomes your starting point for identifying gaps in your knowledge.
Step 2: Interview the Living Archives
The oldest members of your family are walking libraries. They hold details that no database will ever contain: the name of a great-grandmother’s childhood friend, the street where a sibling was born, the surname that got changed at Ellis Island. Approach these interviews with respect and preparation.
Record the conversation if you can, but always ask permission first. Bring a list of open-ended questions. Instead of “When was Grandpa born?” ask “Tell me about the house Grandpa grew up in.” You will learn more about historical context, migrations, and relationships than a formal Q&A would ever produce.
If you hear a story that sounds exaggerated, do not dismiss it immediately. Often family legends contain a kernel of truth that becomes visible only after you verify it with records.
Step 3: Organize Your Family Tree Framework
Once you have collected oral history, put it into a basic family tree structure. You do not need software right away. A simple chart on paper works. Create a box for each known ancestor and connect lines between parents and children.
As you do this, you will notice important gaps: a missing maiden name, an unknown birthplace, a year that does not align. Write those gaps down as research questions. Each research question will guide your next search. This step prevents you from getting lost in unrelated records.
Many family historians also use an online family tree as a backup, but be careful: do not copy other people’s trees without evidence. Your tree should be built on sources you have checked yourself.
Step 4: Move to Civil and Church Records
When you have your research questions ready, it is time to search official records. Civil records such as birth, marriage, and death certificates are the backbone of genealogical research. They usually give names, dates, places, and often the names of parents.
Church records can take you further back than civil registration, especially in countries where civil registration began late. Baptisms and burials often mention parents, godparents, witnesses, and family relationships in a way that census records cannot.
You can access many of these records through local archives, government offices, and genealogy websites. But remember: a photocopy of an original record is better than an index entry. Always try to view the source image, not just the transcription.
Step 5: Use Census Records and Population Lists
Census records act as a snapshot of a family on a specific day. They can confirm that two people lived in the same household, list their ages, and reveal neighbors who might be future spouses or in-laws. Census entries also capture changes over time: a family that appears in one city in 1880 and another in 1900 is a clue about a migration route.
Population lists are not limited to the classic census. There are voter lists, taxation lists, and directories that can track a person’s residence year by year. If your ancestor’s household disappears from census records, look for these alternative lists.
Step 6: Verify Every Detail with Multiple Sources
The most common mistake in family history is accepting an unsourced family tree as fact. A name and a date are not evidence. You need to see the connection between a person and a record.
For each key fact, aim to find at least two independent sources. For example, an ancestor’s birth year might appear on their death certificate, census record, and marriage license. If they all agree, you can be more confident. If they conflict, do not pick the easiest answer. Analyze the logic of each record, remember who supplied the information, and consider which source would have been closest in time to the actual event.
This meticulous process is what separates a reliable family history from a list of myths. Be willing to revise your tree when evidence changes.
Step 7: Connect Your Ancestors to Their Social Context
An ancestor does not exist in a vacuum. They passed through the social, economic, and political currents of their time. When you discover a family’s migration or occupation, take a moment to understand the reasons. Were they fleeing a famine? Did a new railroad line open? Was there a war that disrupted record keeping?
This context helps you break through brick walls. For instance, if you cannot find a marriage record in a certain county, perhaps the couple married in a neighboring county because of family ties or legal reasons. Social history gives you new search strategies.
As you gather and verify stories, you may want to share them in a personal narrative. The family history page at FamilyLove Stories is a place where people reflect on the meaning behind their genealogical findings, and reading how others framed their research can inspire you to look at your own ancestors with fresh eyes.
Step 8: Record Your Sources and Preserve Your Work
Good genealogy is built on clear citations. For every fact you add to your family tree, write down where you found it: the archive name, the record number, the page, or the microfilm. This is not just for others. Future you will be grateful when you need to revisit a document after a long break.
Share your research with relatives, but be clear about what is proven and what is a hypothesis. You might be the one to break a family secret or correct a misspelling that had been repeated for generations. Write down the story behind each document, not just the data.