How to Trace Your Ancestors Step by Step: A Practical Roadmap
If you have ever wanted to understand who your ancestors were, start with the most practical: trace your family history one step at a time. You will uncover ordinary people who made the paths that led to you. You do not need a professional genealogist or an expensive software package to begin. You need a little patience, a good list of questions, and a plan.
Step One: Gather Every Family Paper Before You Search
Most family history searches fail because people straight to online databases. Instead, begin at home. Look through drawers, closets, and safe boxes for birth certificates, marriage licenses, death records, naturalization papers, military service cards, old passports, and diaries. These documents give you the basic facts you need to avoid guesswork later.
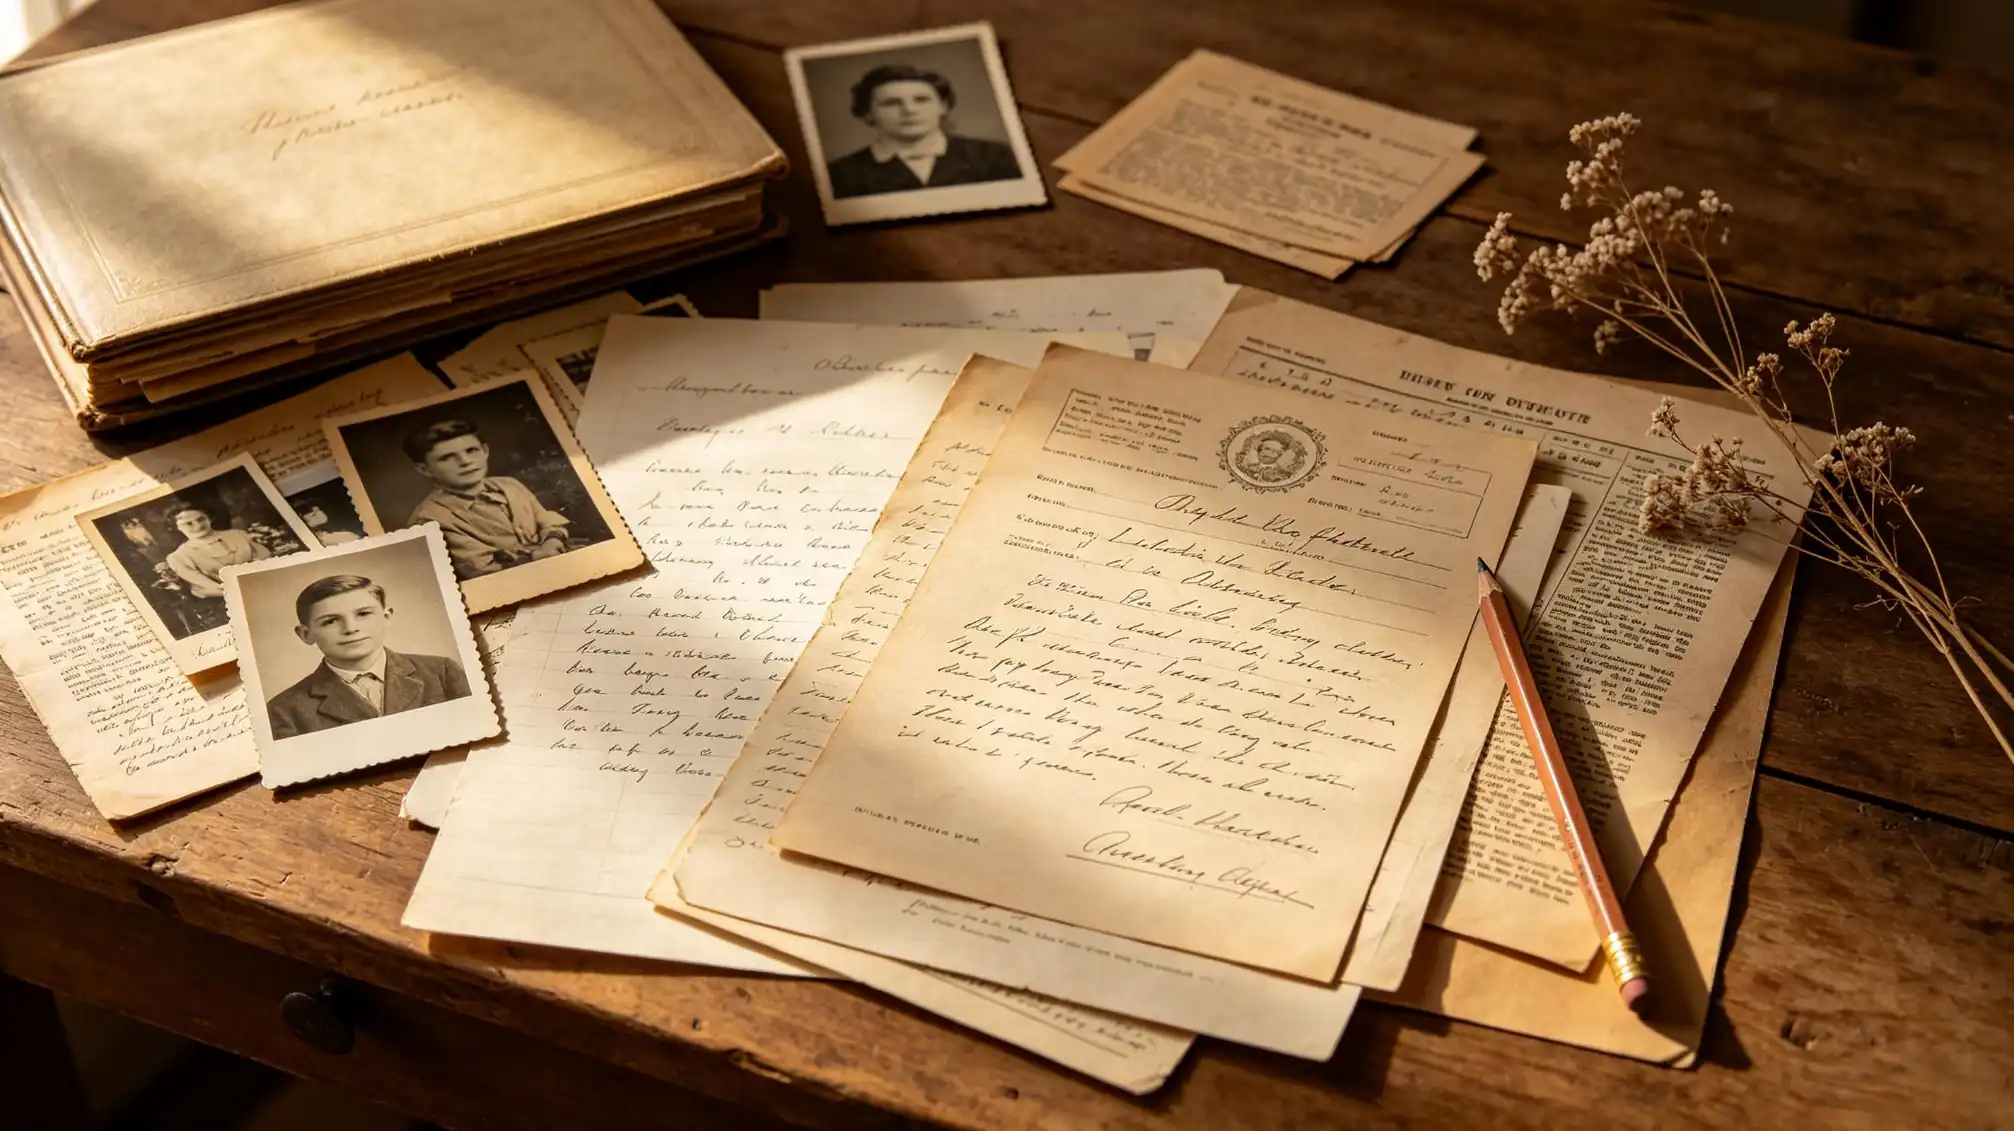
Treat these papers as primary evidence. On the back of an old photo, write the names and dates in pencil. Keep the originals in acid-free sleeves and digitize them at high resolution so the detail is preserved. Create a folder structure that makes sense for your family tree, for example by surname and then by couple. This small step saves you hours when you begin searching for your ancestors in public records.
Step Two: Interview the Elders in Your Family
Your living relatives are your best bridge to older generations. They can tell you where a great-grandmother came from, how a surname changed at Ellis Island, and where family used to meet for holidays. Make the interview comfortable. Phrase open-ended questions and let them speak. Ask for names, dates, and places, but also ask for stories. The memory you record may not be exact, but it will be a starting point After the interview, transcribe the audio. Then compare those notes with any written documents you already found.
If you are looking for examples of how others have preserved their ancestor stories, the stories page at www.familylove.love/stories can give you formats and prompts.
Step Three: Build a Simple Timeline for Each Ancestor
Now you have a pile of documents and a few interview notes. Put them in chronological order. On a sheet of paper, make a table for each person: year, place, event, and document reference. Start at birth, then move to marriage, children, residence, and death. This timeline will reveal gaps. For example, if you think one ancestor was born in 1880 but the census of 1900 says he arrived in the United States in 1890, the age is inconsistent, and you need to look for another record.
Timelines also help you separate people with the same name. Two cousins named John Miller could have lived in the same state. Add a spouse, a profession, or an address to them distinct. This discipline is the heart of genealogy.
Step Four: Move into Public and Genealogy Records
Once the timeline is ready, search for your ancestors in official sources. Census records are often the most useful because they place a household in a specific place on a specific date. Look for passenger lists, city directories, county histories, tax rolls, church registers, and passport applications. For a more personal record, look at local newspapers for obituaries, wedding announcements, and little notes about a family visit.
Use the search tips thatists rely on. If the surname is common, search by the first name and place. If the spelling varies, use wildcards or Soundex. Record every search you try and mark which sources have been checked. This research log is not optional; it prevents you from retracing your own steps.
Step Five: Use DNA as One Piece of Evidence
DNA testing has opened new doors in family history. A DNA match can tell you that two families share a common ancestor, but it does not tell you which ancestor. Combine your match with documents, such as a census record or a family tree with a similar surname to form a stronger hypothesis.
If possible, test the oldest generation in your family. Their DNA is closer to the ancestors you are trying to identify. Upload the raw data to more than one company or database to widen the network. Keep a separate list of promising matches and contact them politely with as much context as you can.
Step Six: Build Your Family Tree with Citations
Now you are ready to assemble the full picture. Choose a family tree format: a chart, a spreadsheet, or an online tree. Enter only verified relationships, and attach a source note to each event. Your family tree is not a place for speculation. If you cannot prove that Elizabeth's father is Thomas, do not connect them until you find a reliable record.
Good organization makes sharing easier. As your tree grows, add siblings, cousins, and in-laws. Their stories often explain why your ancestor moved from the farm to the city or why a family stopped using a middle name.
Step Seven: Turn Your Ancestor Research into a Living Family History
A list of names and dates is only half of the treasure. The other half is in the small details: a Scottish immigrant who carried a fiddle across the Atlantic, widow who ran a boarding house, a veteran who never talked about the war. As you find those details, write them down in short paragraphs. Keep the language simple direct.
The goal is to pass the story to the next generation. Sharing sections of your family history on a family site keeps the work alive and gives your ancestors a place to be remembered.