Old family photos are more than paper and ink; they are windows into the lives of your ancestors. Every crease, faded edge, and handwritten note on the back tells part of your family history. Yet without a little care, those same photos can disappear within a generation. The goal is simple: keep your family memories safe, accessible, and meaningful for the people who come after you.
A Fresh Way to Think About Preservation
Instead of treating preservation as a one-time project, think of it as an ongoing connection with your family history. You are not just saving objects; you are building a bridge between the past and the future. This mindset changes every decision, from how you sort photos to how you share them with the next generation.
There is no single perfect system for preserving family photos. The best approach is the one that fits your family, your time, and your comfort with technology. Start small, stay consistent, and remember that every photo you save is a gift to your future family.
Step 1: Gather and Sort With Curiosity
Begin by gathering all the family photos you can find. Search drawers, albums, boxes, and even old phones. Lay them out on a clean table and sort by decade, person, or event. Do not worry about perfect organization yet. This first pass helps you see what you have and which ancestors appear most often.
As you sort, keep a notepad nearby. Jot down names, places, and stories that come to mind. You may need to ask older relatives for help. They can identify a cousin's uniform, a favorite dog, or the house behind the family. This context turns an old photo into a piece of family history.
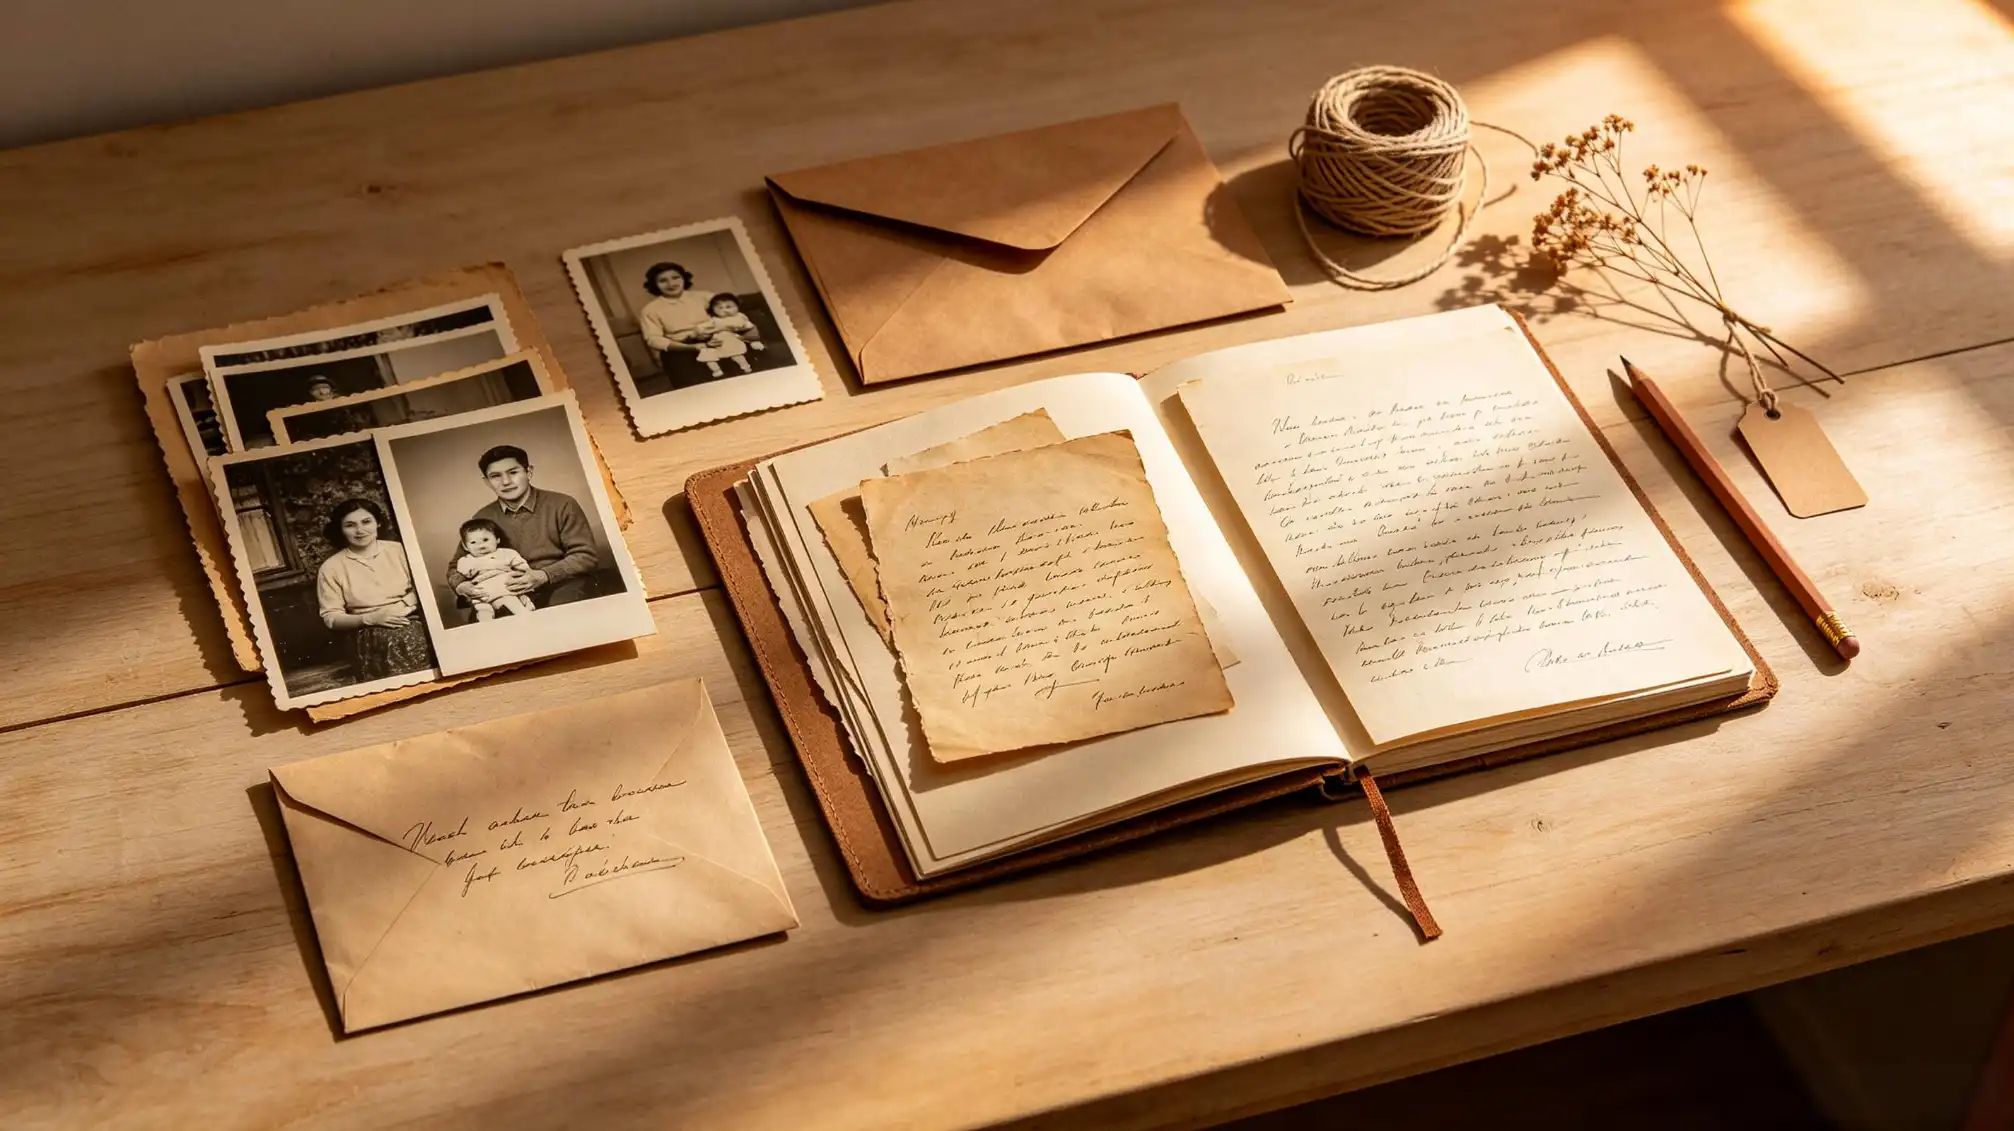
Pay special attention to the backs of photos. Many contain handwritten names, dates, and locations. If you see a pencil note on the back, leave it intact. If a photo is loose, place it in an archival sleeve so the note does not rub off. Those small details are often the difference between a generic image and a true family memory.
Step 2: Digitize Before Damage Finds It
Many old family photos are already fading. Scanning them now is one of the most effective preservation moves you can make. You do not need professional equipment in most cases. A smartphone with a good camera can capture details, but a flatbed scanner gives better results. Set your scanner to at least 300 DPI for standard prints, and 600 DPI for small photos. Save scans as TIFF or PNG to keep every detail, and create JPEG copies for easy sharing.
For photos with tricky lighting or heavy wear, try a scanning app with automatic correction. Be careful not to over-edit. The goal is to preserve the original look, not make it look new. Even a faded photo can hold essential clues for future family history research.
If you have negatives, scan those too. They often reveal details that prints have lost over time. Store scanned negatives in archival pages and keep them separate from your prints, so one flood or accident does not destroy both.
Give each digital file a clear name: LastName_FirstName_Year_Description. For example, "Garcia_Anna_1952_Wedding.jpg." This simple habit makes it easier to search your family memories later. Store digital files in at least two places: one external hard drive and one cloud service. And check your digital files every few years to be sure they are still readable.
Step 3: Store Original Family Photos Like an Archivist
After digitizing, focus on protecting the originals. Heat, light, and humidity are the enemies of old photographs. Choose acid-free, lignin-free boxes or albums with archival sleeves. Store prints flat, not folded, and keep them away from basements, attics, and exterior walls. A cool, dry, dark place is ideal.
Handle photos by the edges, and always wash your hands. If you need to write on a photo, use a soft graphite pencil on the back and write along the edge. Avoid sticky notes and paperclips, which leave marks. For valuable or fragile photos, consider a professional conservator.
Organize Your Digital Family Photo Files
Once your photos are scanned, take time to create a folder structure that makes sense. You might organize by family surname, then by year. Or you might prefer one folder for each grandparent. Consistency matters more than perfection.
Include an "Unknown" folder for photos you cannot identify yet. Later, relatives may help you name those faces. Add a README file in each folder to explain the naming convention and any key details. This small step helps future generations understand what you did and why.
Back up your digital family history in three ways: an external drive, a cloud service, and an archive-grade DVD or SSD kept in a different location. Rotate your backups twice a year to avoid data loss.
Step 4: Bring Family Memories to Life With Stories
A scanned photo is preserved, but it becomes truly alive when paired with stories. Sit with older relatives and ask them to describe the people, places, and moments in your collection. Record their words, either in writing or with a voice recorder. Later, attach those stories to your digital files.
Try asking open-ended questions like:
- Who are the people in this photo?
- Where were they standing?
- What was happening that day?
- Why was this moment important?
As you collect these family memories, you may find it helpful to gather them in one place. A family stories page can help you organize the narratives that accompany your photos, creating a richer family history experience.
Step 5: Share With the People Who Matter
Preservation is not complete until the photos are shared. Make duplicate copies for siblings, cousins, and children. Create a shared digital album so everyone can add names and recollections. You can even print a new photo book for family gatherings. This keeps family photos in active use and protects them from being forgotten in a box.
When you pass along a photo, tell its story. A printed copy of a grandfather at a dock means more when someone knows where and why it was taken. Your ancestors become real to the next generation when their faces and stories travel together.
Remember Why This Matters
Every family photo is a small door into the past. With a little effort, you can make sure those doors stay open for your children and grandchildren. The process is not about perfection. It is about attention, love, and the willingness to connect with your family history.