There is a moment when you open an old shoebox and see a photograph you have never noticed before. The edges are curled, the colors have softened into a sepia dream, and you realize that this tiny rectangle of paper is the only place where your great-grandmother still smiles. That moment is why preserving family photos matters. But how do you actually do it without feeling overwhelmed?
You do not need to be a professional archivist or buy expensive equipment. You just need a system that treats each picture with the same care you would give a handwritten letter from someone you love. This article offers a fresh angle on preserving old family photos for family history—not just a checklist, but a quiet, deliberate ritual that brings your ancestors closer and makes your family memories last.
First, Breathe and Assess: The Photo Audit
Before you buy boxes or turn on a scanner, take a deep breath. Pull out every album, envelope, and shoebox you can find. Spread the photos on a clean table—not on the floor, where dust and pets can add new damage. Now, simply look. This is not a sorting session yet; it is a gentle audit.
As you look, ask yourself three questions:
- What condition is this photo in? Look for tears, fading, stains, or sticky surfaces. Note anything that might need professional help—mold, severe curling, or broken glass from frames.
- Who is in this photo? Turn it over. Is there a name, a date, a place written on the back? Even a pencil note from your aunt can be a golden clue.
- What story does it tell? Is it a wedding, a trip, a family picnic, or a quiet moment on the porch? The story is what makes it valuable beyond any money.
This audit is not about making decisions. It is about honoring the images before you touch them. For many families, this is the first time anyone has looked at these photos with intention in decades. That is already a small act of preservation.
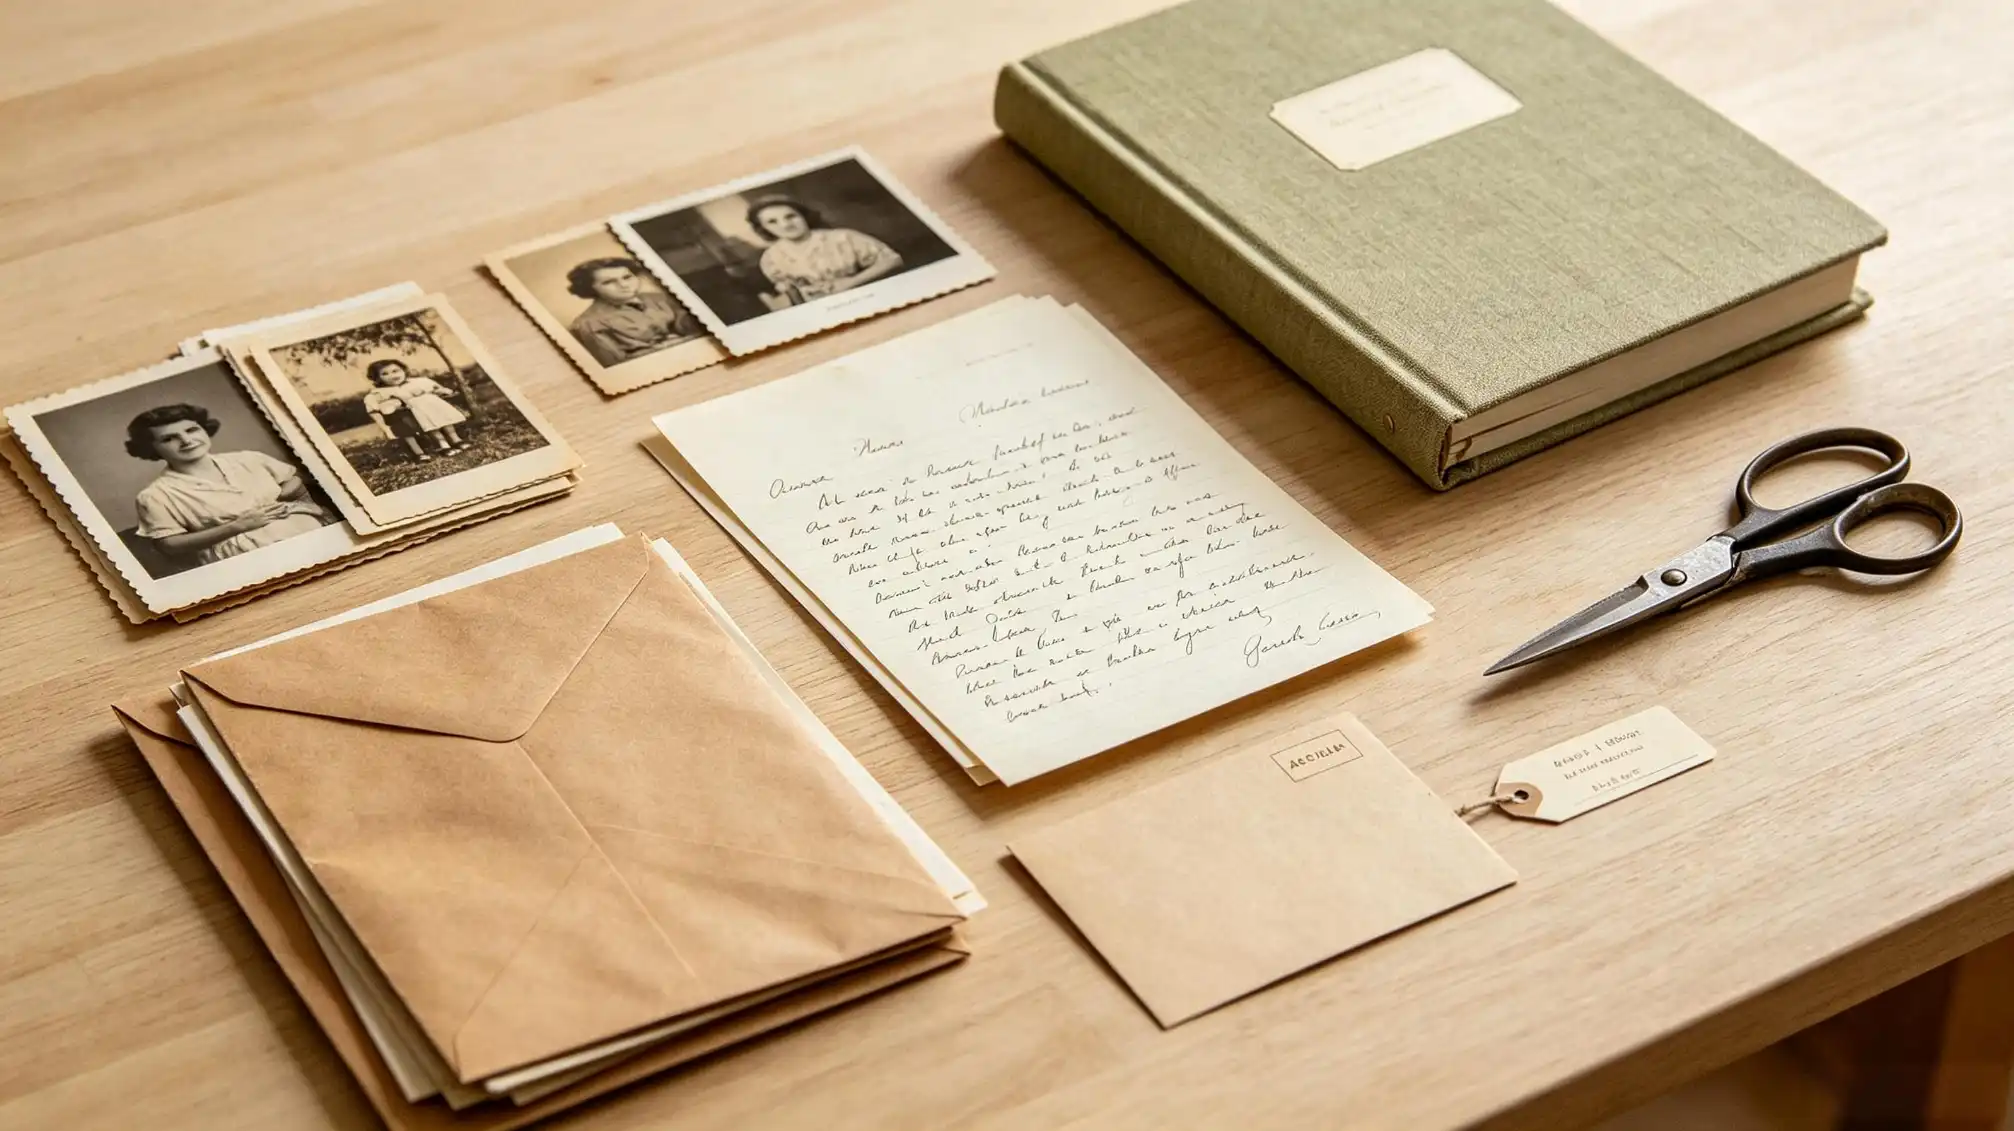
Choose a Gentle Workflow: Sort, Story, Store
Most preservation guides tell you to digitize everything immediately. That can feel like climbing a mountain with no trail. Instead, break the work into three simple phases—sort, story, store—and repeat them in small batches. You will not finish in a weekend, and that is perfectly fine.
Sort in Small Batches
Sort by decade or by family branch, whichever feels more natural. You might start with the 1950s because you can name the people. Later, you can tackle the mystery cabinet card from 1898. As you sort, use sticky notes to label stacks—do not write on the backs of photos with pens; the pressure can leave indentations that damage the emulsion.
Within each pile, look for duplicate photos. Many old photos have reprints, and keeping two of the same image is not necessary. Set aside the best version and, if you like, give the duplicate to another family member. That way, the memory lives in more than one house.
Bring the Stories Back
A preserved photo with no story is like a book with no words. This is where your family memories become true family history. Write down what you know on a separate sheet of paper or in a notebook. Ask older relatives to look at the photos with you. You will be amazed at what they remember: the name of a dog, the exact year of a haircut, the reason everyone was laughing.
As you collect these details, you can create a family story page for each important image. If you need inspiration or want to see how other families share their narratives, visit the family stories section on our site. It is a wonderful place to see how ordinary pictures become treasured chapters of a family with history.
Store Physically and Digitally
Now that you have sorted and recorded your stories, you are ready to store the images in two ways: the original paper and a digital copy. Both matter.
Physical Storage: A Safe Home for Originals
Old family photos deserve a stable environment. Avoid attics, basements, garages, and places with high humidity or temperature swings. A closet in the main part of the house is much better. Place photos in acid-free boxes or archival photo sleeves. For prints, use boxes with lignin-free dividers. Do not mix photos with magnets, old adhesive albums, or rubber bands.
If you have framed photos, take them out of frames that are not archival. The backings in old frames often contain acids that can cause brown spotting over time. Store the photo in an acid-free sleeve and put it in a box. You can always reframe later with museum-quality materials.
Digitizing Without the Stress
Digitizing your family photos is not just about preserving them—it is about making them accessible. But you do not need to scan 10,000 pictures in one week. Scan one small box at a time. Set up a comfortable corner with a flatbed scanner and a lamp. Good enough is better than perfect: 300 dpi is fine for most photos, and 600 dpi is better for very small prints or those with fine details.
Name your files with a simple system: last name, first name, year, event. For example: Fuentes_Luisa_1952_wedding.tif. This makes it easy to find any family photo later. Save an original TIFF or PNG, and then also make a smaller JPEG for sharing. Keep the originals and the digital copies separate—maybe one backup drive at home and one offsite. You can also upload them to a private cloud folder or a secure family site that supports archival storage.
Share With the Whole Family
Preservation is not complete until the photos are shared. If you keep them hidden in a box, they will not become part of your family history in a living way. Create a digital album for your group chat or, better yet, print a small book for the coffee table. Let your children and grandchildren see the faces of their ancestors and hear the stories behind them.
You can even turn preservation itself into a family memory. The next time your family gathers, pass around a selection of your favorite old family photos. Let everyone write their memory on a sticky note and place it on the back of the print—just a pencil note on acid-free paper. This creates a new layer of family history, one that belongs to the present and future as much as the past.