Your First Family Tree: A Practical Roadmap From Family Stories to Verified Records
Most beginners open a genealogy website, type a surname into a search box, and within twenty minutes are staring at a confusion of homonyms, misspellings and dead ends. The impulse is understandable — records feel like the real thing. But a family tree that survives contact with reality is built in the opposite direction: it starts with the memories in your own household, expands outward to documents, and only then reaches into the wider archive. This guide sets out that order in seven working stages, so your first tree grows on solid ground instead of guesses.
Stage 1: Begin With the Living, Not the Dead
The single most common beginner mistake is chasing a famous ancestor or an overseas branch before the nearest generation is properly documented. Living relatives are a perishable source. They hold names, nicknames, birthplaces, migration routes, occupations and family sayings that no census return will ever capture, and they can confirm or correct your assumptions in a five-minute conversation.
So start strictly with yourself. Write down your full name, date and place of birth, then do the same for your parents and siblings. Add your grandparents if you know the details. That is your first three generations, and it is a realistic milestone for a first sitting. Everything you do afterwards will hang from these anchor points.
Stage 2: Capture What You Already Know With the Three-List Method
Before you open any software, empty your head onto paper using three separate lists. Mixing them is what causes confusion later.
- Facts: names, dates, places and relationships you are confident about because you have seen them written down or heard them stated consistently.
- Stories: anecdotes, migrations, occupations, wartime service, family businesses — rich in clues but imprecise about dates.
- Questions: the gaps. A missing maiden name, an unexplained move between two towns, a relative nobody mentions.
That third list is the most valuable document you will produce in your first week. It turns vague curiosity into a research plan, and it tells you exactly which relative to call next.
Stage 3: Choose Your Tools and Fix a Naming Standard
You do not need premium software to begin. A spreadsheet, a paper chart or a free online builder will all hold three generations comfortably. What matters far more is consistency, because inconsistent data is the main reason beginners abandon a family history project halfway through.
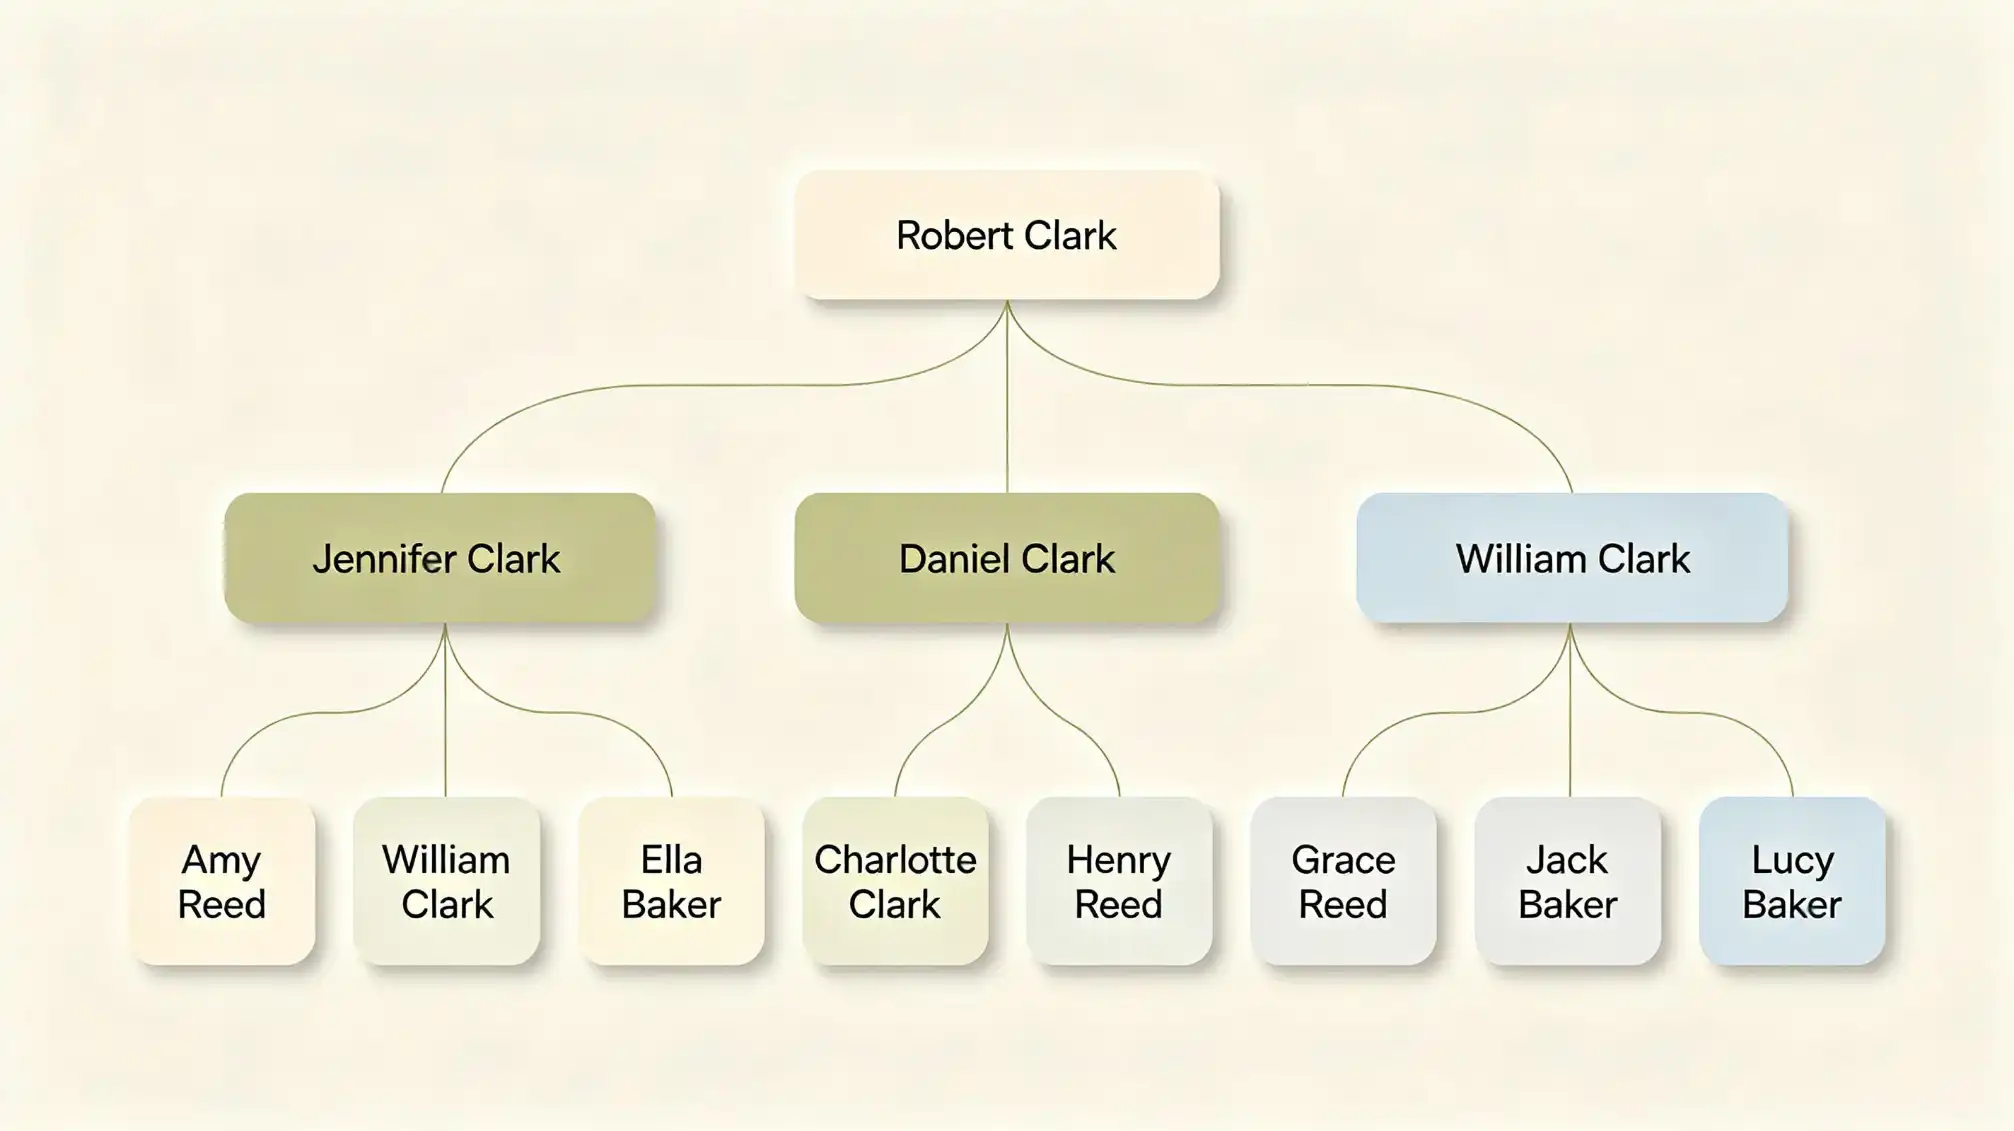
Fix a few rules now and apply them without exception. Record women under their maiden name, with married names noted separately. Write dates in one format only — day, month, year is the least ambiguous. Write place names in full, from the smallest unit to the largest, so that a village is never orphaned from its county or country. Add a short source note beside every entry, even if the source is simply "told by Aunt Margaret, March 2024".
Stage 4: Interview Relatives With Purpose
A good interview is a structured one. Send your questions in advance so the person has time to think, and ask open questions that invite narrative rather than yes or no. "Tell me about your grandmother's house" yields more than "Do you remember her address?" Always ask who else they would suggest you speak to — one contact reliably leads to another, and older relatives often know exactly which cousin keeps the photographs.
Record the conversation if your relative agrees, or take notes and type them up the same day while the context is fresh. Note the date, the speaker and how they are related to you. Memory is not evidence, but it is an excellent map: a remembered detail like "she was a midwife in a small town near the border" is often enough to locate a record you would otherwise never have searched for.
Stage 5: Move Into Records in a Deliberate Order
Once your living sources are exhausted, work backwards one generation at a time and prefer records that are close to the event. Civil registration of births, marriages and deaths, then census returns, then church registers, then newspapers, then land and probate records. Each document should answer a question you already have and generate one new question — that rhythm is the sign you are doing it correctly.
Resist the temptation to skip a generation because a name looks familiar. Two people with the same name in the same county is not a coincidence to be resolved later; it is the point at which most beginner family trees quietly become fiction.
Stage 6: Record Evidence, Not Just Names
For every person in the tree, keep a short evidence trail: the document you used, where you found it, and what it actually says. Transcripts are fine, but keep the reference. When two sources disagree — a birth year that shifts by three years between a census and a death certificate — write down both and note which one you consider stronger, rather than quietly choosing the tidier number.
This habit feels like overhead in week one and becomes invaluable in year three, when the tree is large enough that you can no longer remember why you decided a particular person belonged to a particular branch.
Stage 7: Share the Work and Protect It
A tree kept to yourself is fragile and slow. Sharing it brings corrections, photographs and documents you would never have found alone. If you want a shared space where relatives can add their own branches without emailing you pictures one at a time, you can set up a family group page at familylove.love/family and invite contributors early — retrofitting collaboration onto a finished tree is far harder than starting with it.
Whatever platform you choose, export a backup copy of your data at least twice a year and store it somewhere you control. Software changes; your research should outlive it.
Four Mistakes Worth Avoiding
- Accepting an online tree's version of your family without checking its sources — many are copied from each other and errors spread quickly.
- Adding every possible ancestor in one branch while the rest of the tree sits empty; balance keeps the project from stalling.
- Ignoring spelling variants, which is the fastest way to miss a record that exists.
- Treating oral history as either gospel or rumour — the truth is usually that the story is right and the date is wrong.
A first family tree does not need to be large. It needs to be honest, documented and easy for someone else to pick up. Do that, and the tree will keep growing long after your initial enthusiasm has been replaced by something more durable.