{
"title": "Saving Family Photos for the Long Haul: Protecting the Images That Carry Your Family History",
"metaTitle": "How to Save Family Photos Before They Fade | FamilyLove",
"metaDescription": "Protect old family photos for the long term with archival storage, smart scanning, labeling, and backups — a practical guide for preserving family history.",
"summary": "Old photographs rarely disappear all at once — they fade, stick, mold, and get forgotten one storage mistake at a time. This guide walks families through a realistic preservation routine: sorting safely, handling prints the way conservators do, choosing genuinely archival materials, scanning with purpose, labeling and interviewing relatives, and building a backup system that survives hard drives and households. It ends with two practical steps you can take this week.",
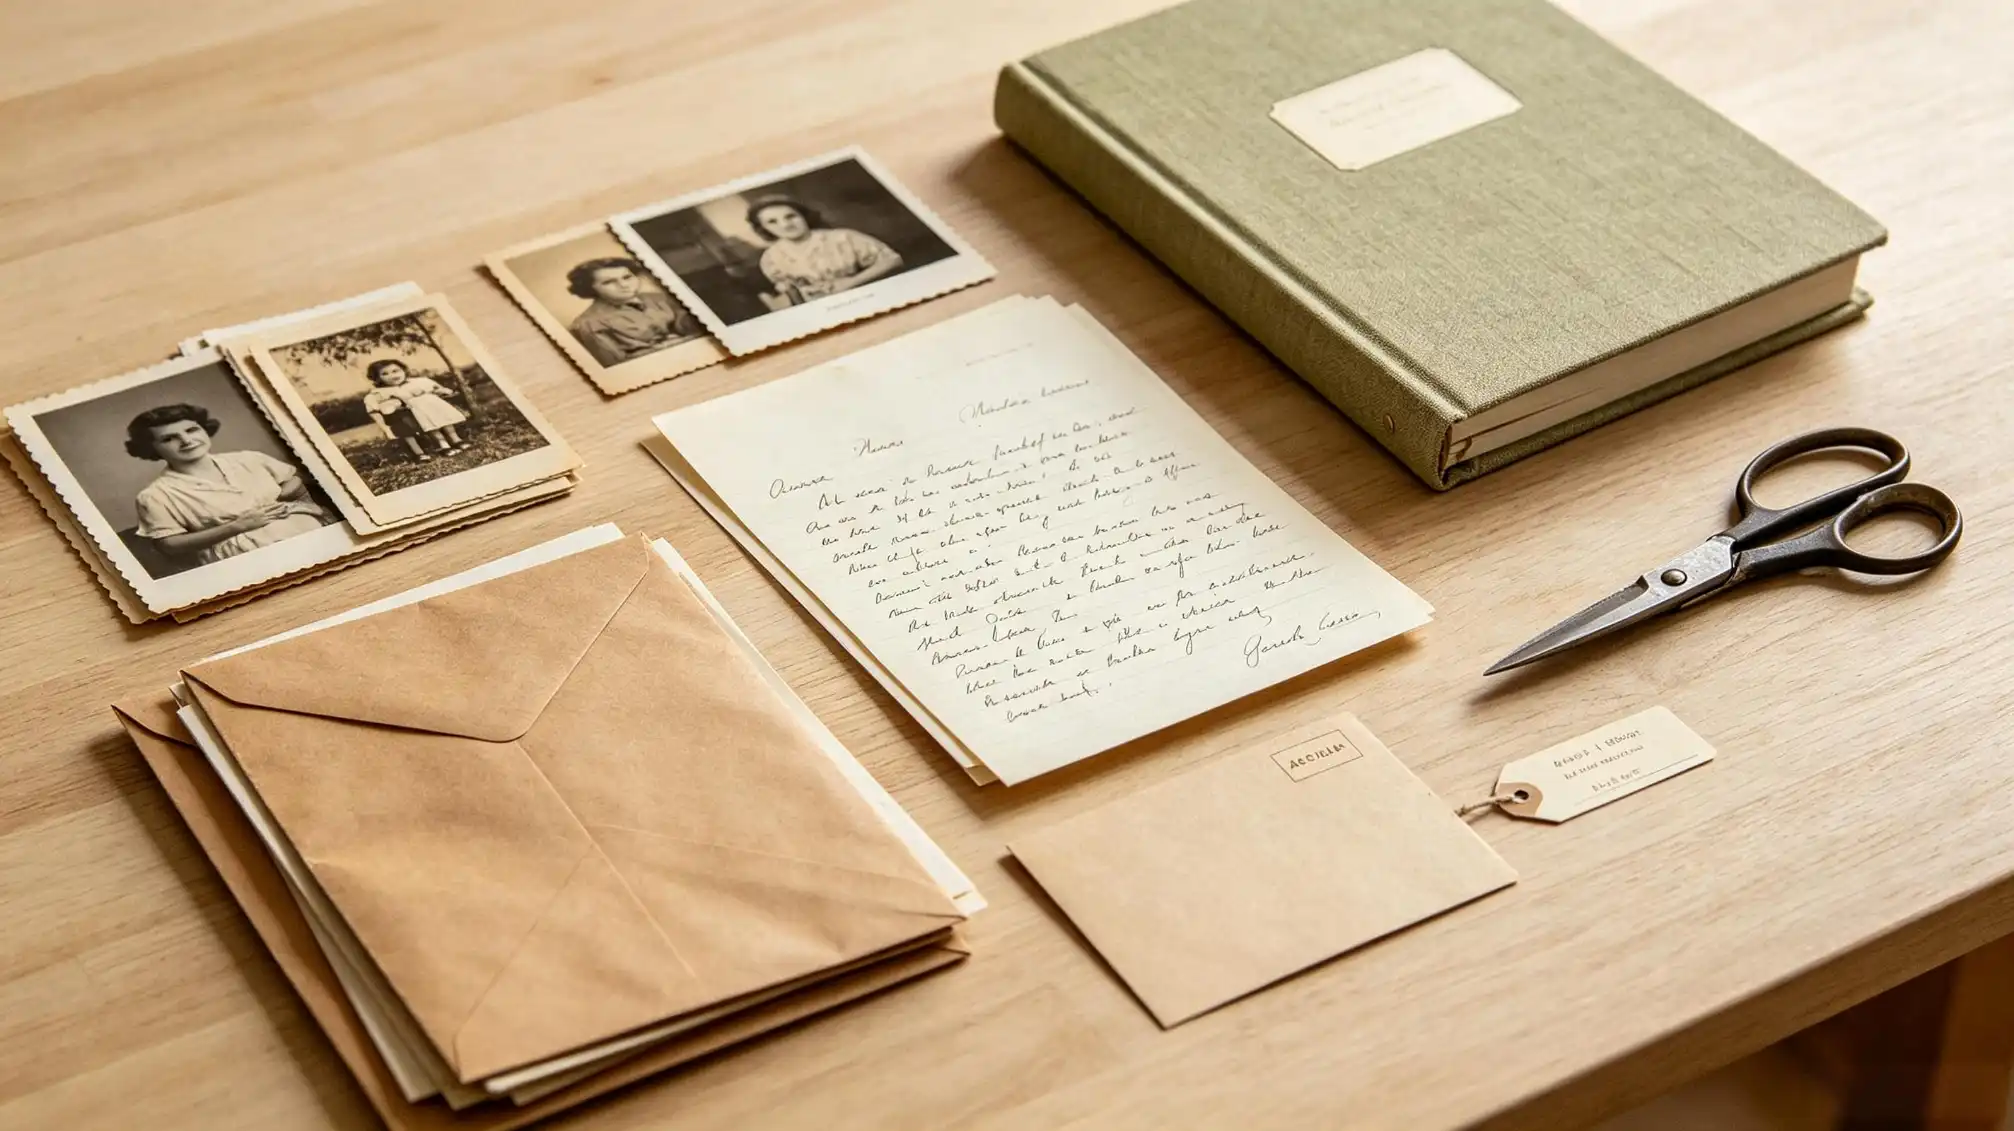
"contentHtml": "<h1>Saving Family Photos for the Long Haul: Protecting the Images That Carry Your Family History</h1>\n\n<p>Most families do not lose their <strong>family photos</strong> in one dramatic moment. The loss happens slowly — a box in a humid basement magnetic album from the 1970s quietly staining every print inside it, a shoebox that gets moved three times and finally forgotten. By the time someone asks who the people in the pictures are, the answers are gone too.</p>\n\n<p>The good news is that most of this damage is preventable, and you do not need a conservation degree or a professional studio. You need a few afternoons, the right materials, and a simple system that keeps <strong>family memories</strong> usable for the next generation instead of locked in a closet nobody opens. Here is how to do it in an order that actually works.</p>\n\n<h2>Understand What You Are Up Against</h2>\n\n<p>Old prints are chemical objects. Black-and-white photographs from the early 1900s are usually the most stable; color prints from the 1960s through the 1980s are often the most fragile, because their dyes fade and shift toward orange or magenta even when kept in the dark. Negatives and slides generally hold more detail than the prints made from them, which makes them worth locating before anything else.</p>\n\n<p>The main threats, roughly in order of how often they cause real damage:</p>\n\n<ul>\n<li><strong>Light and heat</strong> — ultraviolet light fades dyes and yellows paper, and attics or garages cook prints over a single summer.</li>\n<li><strong>Humidity and water</strong> — basements breed mold, and mold eats photographic emulsion.</li>\n<li><strong>Bad plastic and adhesive</strong> — PVC sleeves, magnetic albums, rubber bands, tape, and glue all leave permanent marks.</li>\n<li><strong>Acidic paper and cardboard</strong> — ordinary shoeboxes and newsprint turn brittle and stain whatever touches them.</li>\n<li><strong>Pests and handling</strong> — silverfish, mice, and oily fingers do quiet, cumulative harm.</li>\n</ul>\n\n<h2>Start With an Inventory Not a Project</h2>\n\n<p>The is to empty every box onto the living room floor. Resist it. one container at a time and keep a simple written list: what the container holds, roughly how many items, what condition they are in, and where you stored afterward. A notebook works. A spreadsheet works better if several relatives are helping.</p>\n\n>As you sort, divide items into three piles: keep and store properly, digitize first because they are fragile, and or unidentifiable images that other relatives may want. Do not throw anything away on the first pass. A blurry group shot may be the only surviving image of a great-grandparent at work, and only a cousin will recognize the building behind them.</p>\n<h2>Handle Old Prints the Way Conservators Do</h2>\n\n<p>Clean, dry hands are fine for paper prints. Use cotton or nitrile gloves for negatives, slides, metal frames, and anything with flaking emulsion. Hold prints by the edges, support them flat with both hands, and never bend a curled print to flatten — that cracks the emulsion along the.</p>\n\n<p>A few hard rules are worth repeating until they become habit:</p>\n\n<ul>\n<li>Never laminate a photograph. The plastic seals in moisture and cannot be reversed.</li>\n<li>Never write on the front. On the back, use a soft graphite pencil and write near the edge rather than across the center.</li>\n<li>Never use tape, glue, rubber bands, paper clips, or self-adhesive albums.</li>\n<li>Never store prints in a hot attic or damp basement, even briefly.</li>\n</ul>\n\n<figure>\n<img src=\"https://r2.familylove.love/static/seo/memoriespreservation4.webp alt=\"Acid-free boxes and sleeves used to store old family photos on a cool, dark shelf\" />\n<figcaption>Good storage is unglamorous:-free boxes and sleeves a stable temperature, low light, and nothing sticky anywhere near the prints.</figcaption>\</figure>\n\n<h2>Choose Storage Materials That Earn Their Keep</h2>\n\n<p> for the words archival,-free, lignin-free, and photo-safe on packaging Polyester (often sold as Mylar), polyethylene, and polypropylene sleeves are all safe. PVC is not, and it usually smells faintly like a shower curtain. For paper prints, buffered-free boxes and folders are ideal. For color prints, cyanotypes, and dye-based images, choose unbuffered boxes instead.</p>\n\n<p>Store prints flat in boxes that are not overfilled, or vertically in folders if they are stiff enough to stand. Interleave fragile items with acid-free paper. Keep the storage area between roughly 65 and 70°F with steady, moderate humidity and no direct light. Stability matters more than hitting a perfect number — a shelf in a climate-controlled closet beats a fluctuating attic every time.</p>\n\n<h2>Digitize With Purpose</h2>\\n<p>A scan is not a backup by itself; it is a second original. Do it well the first time so you never have to handle the fragile print again:</p>\\n<ul>\n<li>Scan prints at 600 ppi if you want the option to reprint at larger sizes; 300 ppi is a reasonable minimum for sharing.</li>\n<li>Scan 35mm negatives at 4000 ppi or higher they carry detail no print shows.</li>\n<li>Save a full-resolution TIFF or high-quality JPEG as the master file, and make smaller JPEGs for everyday use.</li>\n<li>Name files so they make sense in ten years: 1954-06_Margaret-and-Ray_wedding_Chicago.jpg.</li>\n<li>Record names, dates, places in the file metadata or a companion document, not only in your memory.</li>\n</ul>\n\n<p>If scanning everything feels impossible, scan in passes. Start with the images that show faces weddings, family homes, and documents such as immigration papers or military records. Those are the ones relatives will search for later.</p>\n\n<h2>Label, Interview, and Ask While You Still Can</h2>\n\n<p>Identification is the part families regret most. Write down what you know now, tentatively, and mark uncertainty clearly: likely Uncle Frank, possibly 1938. Then go ask. Older relatives can often name a street, a job, or a cousin in seconds, and those details are the difference between a picture and a record.</p>\n\n<p>Keep the stories you collect with the images rather than in a separate notebook. This is where sharing pays off — the <a href=\"https://www.familylove.love/stories\">family stories</a> section is a good place to publish a short memory alongside the photograph it belongs to, so cousins can add corrections and details you would never have found alone.</p>\n\n<h2>Back Up Like the Archive Depends On It</h2n\n<p>Follow 3-2-1 rule: three copies of your digital files, on two different types of media, with one copy kept offsite. In that means an external drive at home, a cloud account, and a second drive or cloud copy stored elsewhere. Check and refresh drives every few years — hardware fails quietly, and cloud accounts expire when a card on file does.</p>\n<p>For the of truly irreplaceable originals, consider aproof and waterproof safe. For everything else, a labeled archival box on a shelf is enough, as long as people know it exists and where it lives. Tell two relatives, and keep the inventory list with your important household documents.</p>\n\n<p>Finally, put the images back into circulation. Print a few, frame them, send them, bring the box to a reunion. Photographs that are seen get talked about, and photographs that get talked about get identified, protected, and passed on. That is what keeps <strong>ancestors</strong> part of a living family conversation instead names on a chart.</p>\n\n1>Practical Steps</h1>\n\n<ul>\n<li>Start with the related guide on <a href=\"https://www.familylove.love/stories\">sharing a family story</a> — pair one photograph with one memory this week invite relatives to add what they know while memories are still fresh.</li>\<li>For step-by-step help and guidance on organizing, storing, and passing on your family archive, visit <a href=\"https://www.familylove.love/docs\">www.familylove.love/docs</a>.</li>\n</ul>",
"images": [
"https://r2.familylove.love/static/seo/memoriespreservation4.webp"
]
}