Family Photos That Outlive Us: A Simple Plan for Saving Your History
Most families don't lose their family photos in a fire. They lose them slowly — a box moved to a garage, a shoebox that gets damp, an envelope of negatives nobody can identify, a phone that dies with four thousand pictures on it. The damage is quiet, and by the time anyone notices, the people who could have named the faces are gone too.
This is a practical guide, not a lecture about museum-grade storage. You don't need archival gloves and a climate-controlled room. You need a weekend, a few small decisions, and a system your relatives will actually keep using after you.
Why old family photos disappear faster than they look
Color prints from the 1960s through the 1990s are often in worse shape than black-and-white photos from the 1920s. Early color processes used dyes that fade, shift toward magenta or yellow, and crack as the emulsion dries out. Black-and-white prints are more stable, but they still hate heat, humidity, light, and tape.
The biggest threat isn't chemistry, though. It's separation from context. A photo with no name, no date, and no place is just a picture. Add those three things and it becomes family history.
Start with an inventory, not a restoration
The instinct is to begin with the worst photo — the torn one, the water-stained one. Resist that. Restoration is the last step, and often optional. The first step is simply knowing what you have.
Pull everything out: albums, envelopes, frames, drawers, that tin in the closet. Don't reorganize yet. Just take a rough count and note the formats. You'll usually find four kinds of material:
- Loose prints, often with handwriting on the back
- Albums with photos glued or taped down (leave these alone for now)
- Negatives, slides, and film strips
- Digital files scattered across phones, old laptops, and email
Then pick a goal small enough to finish. "Scan the 1972–1980 box" is a goal. "Digitize the family archive" is a project that stalls in three weeks.
The three-copy rule
Anything you care about should exist in three places, in two different formats, with at least one copy somewhere else geographically. For family memories, that usually means:
- Original — the physical print or negative, stored safely
- Master digital file — full-resolution scan, unedited, on an external drive
- Access copy — a smaller, shareable version in cloud storage that relatives can reach
Keep them separate. A single hard drive on a shelf isn't a backup; it's a delay. Cloud storage alone isn't enough either, because accounts lapse andcompanies change hands. Original plus local plus cloud is the combination that survives decades.
Handling and storing the prints you already have
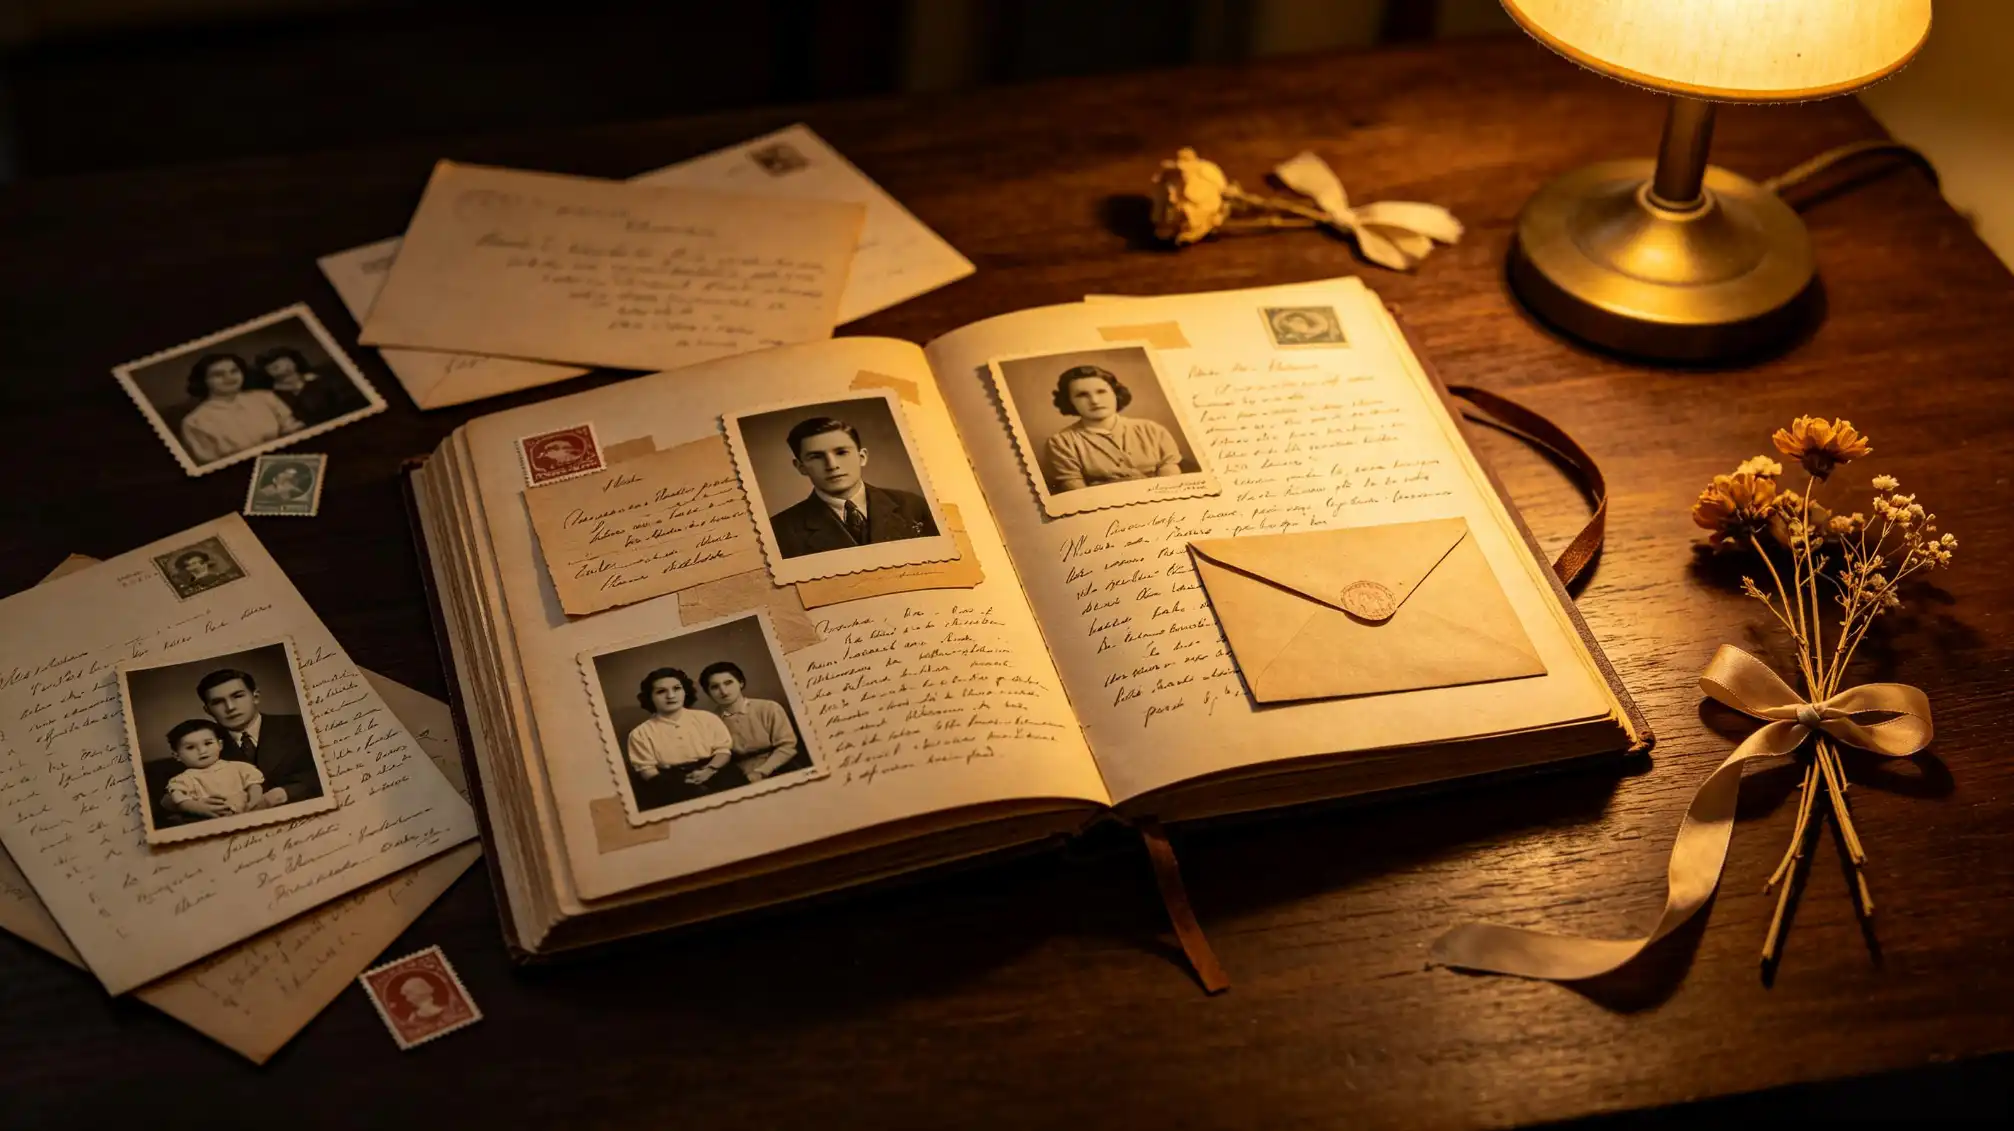
A handful of rules do most of the work:
- Wash and dry your hands before touching prints. Skip the lotion. Cotton gloves help with very old or fragile photos.
- Hold a photo by its edges, never by the surface.
- Never use tape, rubber bands, paper clips, or glue. Pressure and adhesive cause damage that can't be undone.
- Get photos out of the attic, basement, and garage. A closet inside living space is far better.
- Use boxes and sleeves labeled "photo-safe," "acid-free," and "lignin-free." Ordinary cardboard and PVC plastic sleeves slowly damage what they hold.
- Store prints upright rather than stacked when you can, and avoid heavy weight on top.
What to do about glued-down album pages
Don't force it. If a photo is stuck to an album page or a frame backing, leave it there and digitize it in place. A good scan of a mounted photo beats a torn one you tried to rescue.
Scanning settings that actually matter
You don't need an expensive scanner, but you do need the right settings, because rescanning a whole collection later is a miserable job.
- Scan prints at 600 dpi. Slides and negatives at 2400–3200 dpi.
- Save masters as TIFF or high-quality JPEG. Make edits on a copy — never touch the master.
- Scan in color even for black-and-white photos; you'll capture paper tone and any color cast.
- Straighten, crop, and dust-spot the access copy only.
If a photo is too fragile for a flatbed, photograph it with a phone on a copy stand or a stack of books, using soft, even light and no flash.
Label everything — but not on the photo
The single most valuable thing you can add to a box of family photos is identification. Write on the back of prints with a soft graphite pencil along the edge, or use an archival label on the back. Never write on the front, and never across the image.
Better still, label the container and the digitalfile. For each photo worth keeping, record what you know:
- Who is in it — full names, including maiden names
- When — at least the decade if the exact year is unknown
- Where — town, street, or event
- Who identified it — useful when two relatives disagree
Sit down with your oldest relatives and the photos together. Names you can't place now will be impossible later, and the details they mention in passing — a job, a house, a nickname — are often the most memorable part of your ancestors' stories.
Name and organize digital files so future relatives can find them
A folder called "old pics" will be a mystery in twenty years. Use a consistent pattern like 1943-06_Grandma-Rose_wedding_Chicago.jpg. Dates first, so files sort chronologically. Keep one folder per branch of the family, and keep the structure simple enough that a cousin can follow it without instructions.
Then write down where everything lives — the drive, the cloud folder, the box in the closet — and give that note to two other people. Preservation fails most often because only one person knows the system.
Give the photos their stories back
Files and folders protect the image. Stories protect the meaning. Once your photos are scanned and identified, pair them with what you know: the migration, the shop that closed, the cousin who wrote every year. Turning a labeled scan into a short written memory is what moves a collection from storage into family history. You can keep photos and their stories together at familylove.love/stories, where the whole family can add names, dates, and details you might have missed.
A realistic timeline
Spread the work out. Week one: gather and sort. Week two: buy boxes and sleeves. Weeks three and four: scan one box. Week five: name files and label. Week six: share access copies and ask relatives to fill in the gaps. Then stop, and come back next year for the next box. Steady beats heroic.