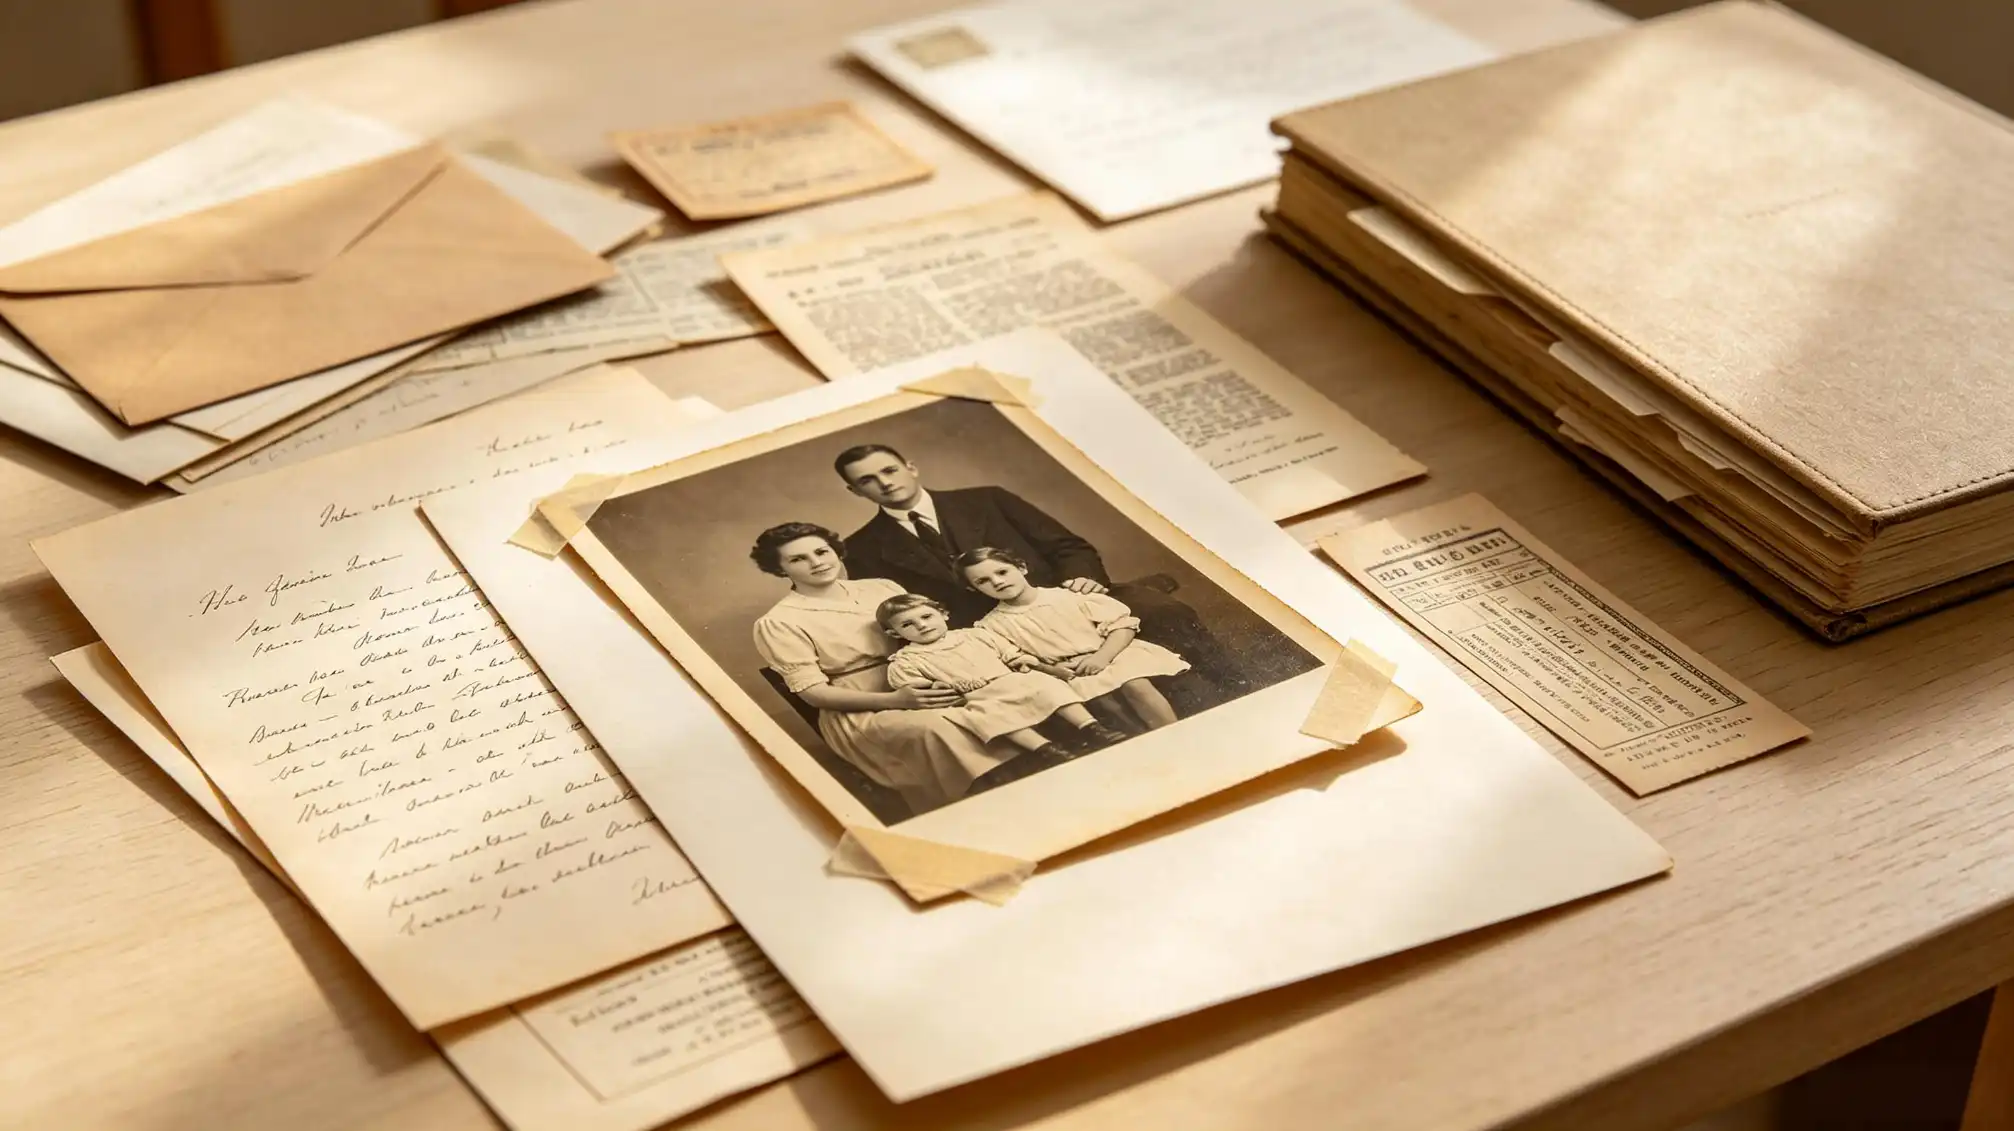
Photos That Last: Practical Plan for Preserving Your Visual History
Every family has a box, a drawer, a phone folder full of family. Some are crisp and recent; others fading, curled, and anonymous. The goal is to turn your home into a. It is to make sure the faces, places, and small details shaped your family history survive enough to be understood by the next generation.
Preservation works best when it is practical. Start with what you have, improve step at a time, and treat the archive as a living project rather than a one-time chore.
<2>Why old family photos are more fragile than they lookh2>Photographic prints, negatives, slides, albums all decay differently. Heat, humidity, light, dust, and the chemicals in old album pages can cause silvering, yellowing, cracking, mold. Digital files are not automatically safe either: hard drives fail, cloud lapse, and file formats become obsolete.
The biggest, however, is often lost context. A photo without names, dates, or places becomes mystery. That is why preservation has two halves: protecting the physical object and protecting the story around it.
with a photo triage, not a full restoration
Not every photo needs the same treatment. Triage collection into three groups: keep and preserve, scan and share, and decide later. The oldest, most fragile, and most historically rich belong in the first group.plicates, blurry snapshots, and photos with no family connection wait. This prevents overwhelm and helps you focus on what matters mostp>
If image is torn or water-damaged, do not attempt DIY repairs with tape or glue Place it in an archival, scan it as-is and keep the original safe. Digital restoration can come later; physical preservation is harder undo.
First, stabilize what is already
Handle prints with clean, dry hands
O and moisture from fingers can leave permanent marks. Hold prints by the edges, cotton gloves for valuable or fragile images, and work on a clean, clutter table. Do not use tape, glue, rubber bands, or paper clips on original photos.
<3>Separate problem materialsMagnetic albums PVC sleeves, and acidic paper can damage photos over time. If a photo is stuck, do not force it. it in place if possible, or consult a conservator for valuable items. For most family collections, separation and rehousing in archival sleeves is enough.
Control the
Store originals in a cool, dry, dark place. Avoid attics, basements, garages and sunny shelves. Aim stable temperature and humidity rather than perfect numbers. Use archival boxes, acid-free folders, and sleeves made polyester, polyethylene, polypropylene.

Build a scanning rhythm instead of a scanning marathon
Many people stall because they think they need to digitize everything at once. A better approach is a steady. Choose one album, one envelope, one shoebox at a time. Scan at 600 ppi for and 1200–2400 ppi for negatives slides when possible. Save master files as TI or high-quality JPEG, create smaller JPEGs for sharing.
Name files in a way that relatives can understand. A simple pattern works: LastName_FirstName_Event_Year_Location_001.jpg. For example, Miller_Emma_Wedding_8_Chicago_001.jpgIMG_2043.jpgp>
Record what you know as you scan. Even a few wordswho, what, when, where—turn a picture into a piece of family history. If you are working from memory, write down the uncertainty too: likely 1952, possibly at the lake house.
Do not write on the front of photo. On the back, use a graphite pencil for paper prints, writing lightly along the edge. For glossy or resin-coated prints, place the photo an archival sleeve the details on the sleeve instead. Never use ballpoint pen,, or sticky labels directly on an original.
<>Include the full names of ancestors, maiden names, relationships,, date, and place. If you do not know, note the source of your. Future researchers will thank you for separating fact from family legend.<2>Choose storage that buys you decadesArchival storage is not about luxury; is about avoiding materials that actively harm photos. Look for boxes and folders acid-free, lignin-free, and photo-safe. Avoid cardboard from shipping boxes, plastic bags, and photo corners that can stain over time.
Store prints flat in boxes that are not packed too tightly. If you keep albums, albums with acid-free pages and photo-safe sleeves. For oversized or framed photos, them out of direct sunlight consider replacing old backing materials may be acidic.
You not need professional equipment to make a meaningful difference. A basic archive can fit in closet and still protect decades of family memoriesp>
- Archival boxes: acid-free, sturdy, sized so photos can lie flat.<>Sleeves and folders: or polyethylene for frequently handled items; acid-free paper folders for storage.
- Labels: pencil on the back or archival labels on the outside of sleevesli>
- Inventory list: spreadsheet or notebook that tracks box numbers, contents, and scan status.
- Digital backup: the original files plus at least two copies, in different locations.
Keep system simple enough that you actually use it. labeled box of scanned photos is better than a perfect plan that never leaves computer.Back up digital family photos with the 3-21 rule
Digital preservation is just about scanning. Use the 3-21 rule: three copies of important files, on different types of media with one copy off-site. That might mean an external hard drive at home, cloud backup, and a drive stored with a relative.
<>Check your backups once or twice a year. Open a few files, they still load, and replace failing drives before they fail completely. If you share photos with relatives, keep a master archive that you control rather than relying only on messaging apps or social media.the digital archive discoverableh2>
Folders full of unnamed images difficult to use. Create a clear folder structure: Family Name >ade > Event or Person. Add a simple index file that lists the main contents Use consistent file names and a short caption in the metadata when possible.
When you share the archive, provide context. A folder called Grandpa JoeGrandpa Joe, 1938–1965, letters and Army photos is far better. The easier it is to browse, the more likely family memories will be.
Add stories, not just files
A scanned is useful. A scanned photo with a story is unforgettable. Write down the memory the image: the joke that made everyone laugh, the recipe on the table, the reason someone wore that uniform, the house that longer stands. These details turn ancestors from names on a chart into people voices and habits.
This is also family collaboration becomes powerful. Ask older relatives to identify faces, places, events. Record their answers, even if they are brief Then share the growing archive cousins, siblings, and future generations. You can publish a collection or memory page at Family Love Stories so relatives can add what they remember.
Make preservation a family habitPreservation does have to be a solitary. Turn it into a family habit: one relative scans, another interviews, another writes captions, and another organizes the digital folder. Set a small monthly goal, as 25 photos scanned and labeled. Celebrate when a decade of family photos is fully backed up.
For children, make the archive tangible. Show them an old family photo and tell the story behind it Let them help choose which images to print and frame. When family memories are handled regularly, they stay alive instead of a mysterious box in the atticp>
When call a conservator
Some situations need expert help: mold, water damage, flaking emulsion, nitrate negatives, or deeply valuable historic images. A conservator can stabilize items and advise on storage. For everyday family collections, however, consistent care—cool storage, archival materials, scanning, labeling, and backups—prevents most loss.
Start with the oldest and most fragile photos first. Then work through the rest in small batches. The point is not perfection. point is making sure your family photos, and the family history they carry, are still here for people who come next.