Family Photos: A Simple Archive Plan to Keep Them Safe for Generations
Every family has a box somewhere. Maybe it's a shoebox behind the winter coats, a grocery bag in a closet, or a hard drive labeled "old laptop stuff." Inside are faces of people who built the life you're living now — grandparents at a wedding, a great-aunt holding a baby nobody can name, a school portrait from a year no one remembers.
Preserving family photos isn't really about tape and sleeves. It's about buying those images time. The good news is that most of what destroys a family collection isn't fire or flood — it's neglect, mislabeling, and good intentions that never got scheduled. Here's a plan you can actually finish, one small evening at a time.
Start with the people, not the pictures
Before you touch a single print, sit down with the oldest relative who will talk to you. Ask open questions and record the answers on your phone: Who is in the photo with the porch? Where was this house? What year did the family move? Names, places, and rough dates are worth more than perfect scans, because a sharp image of an unnamed stranger is still a stranger.
You don't need an interview setup. A kitchen table, a cup of tea, and a stack of prints will do more than any questionnaire. If a relative is far away, send photos by message and ask them to type what they recognize. Write everything down immediately — memory is generous in the moment and forgetful by morning.
Give fragile originals first aid
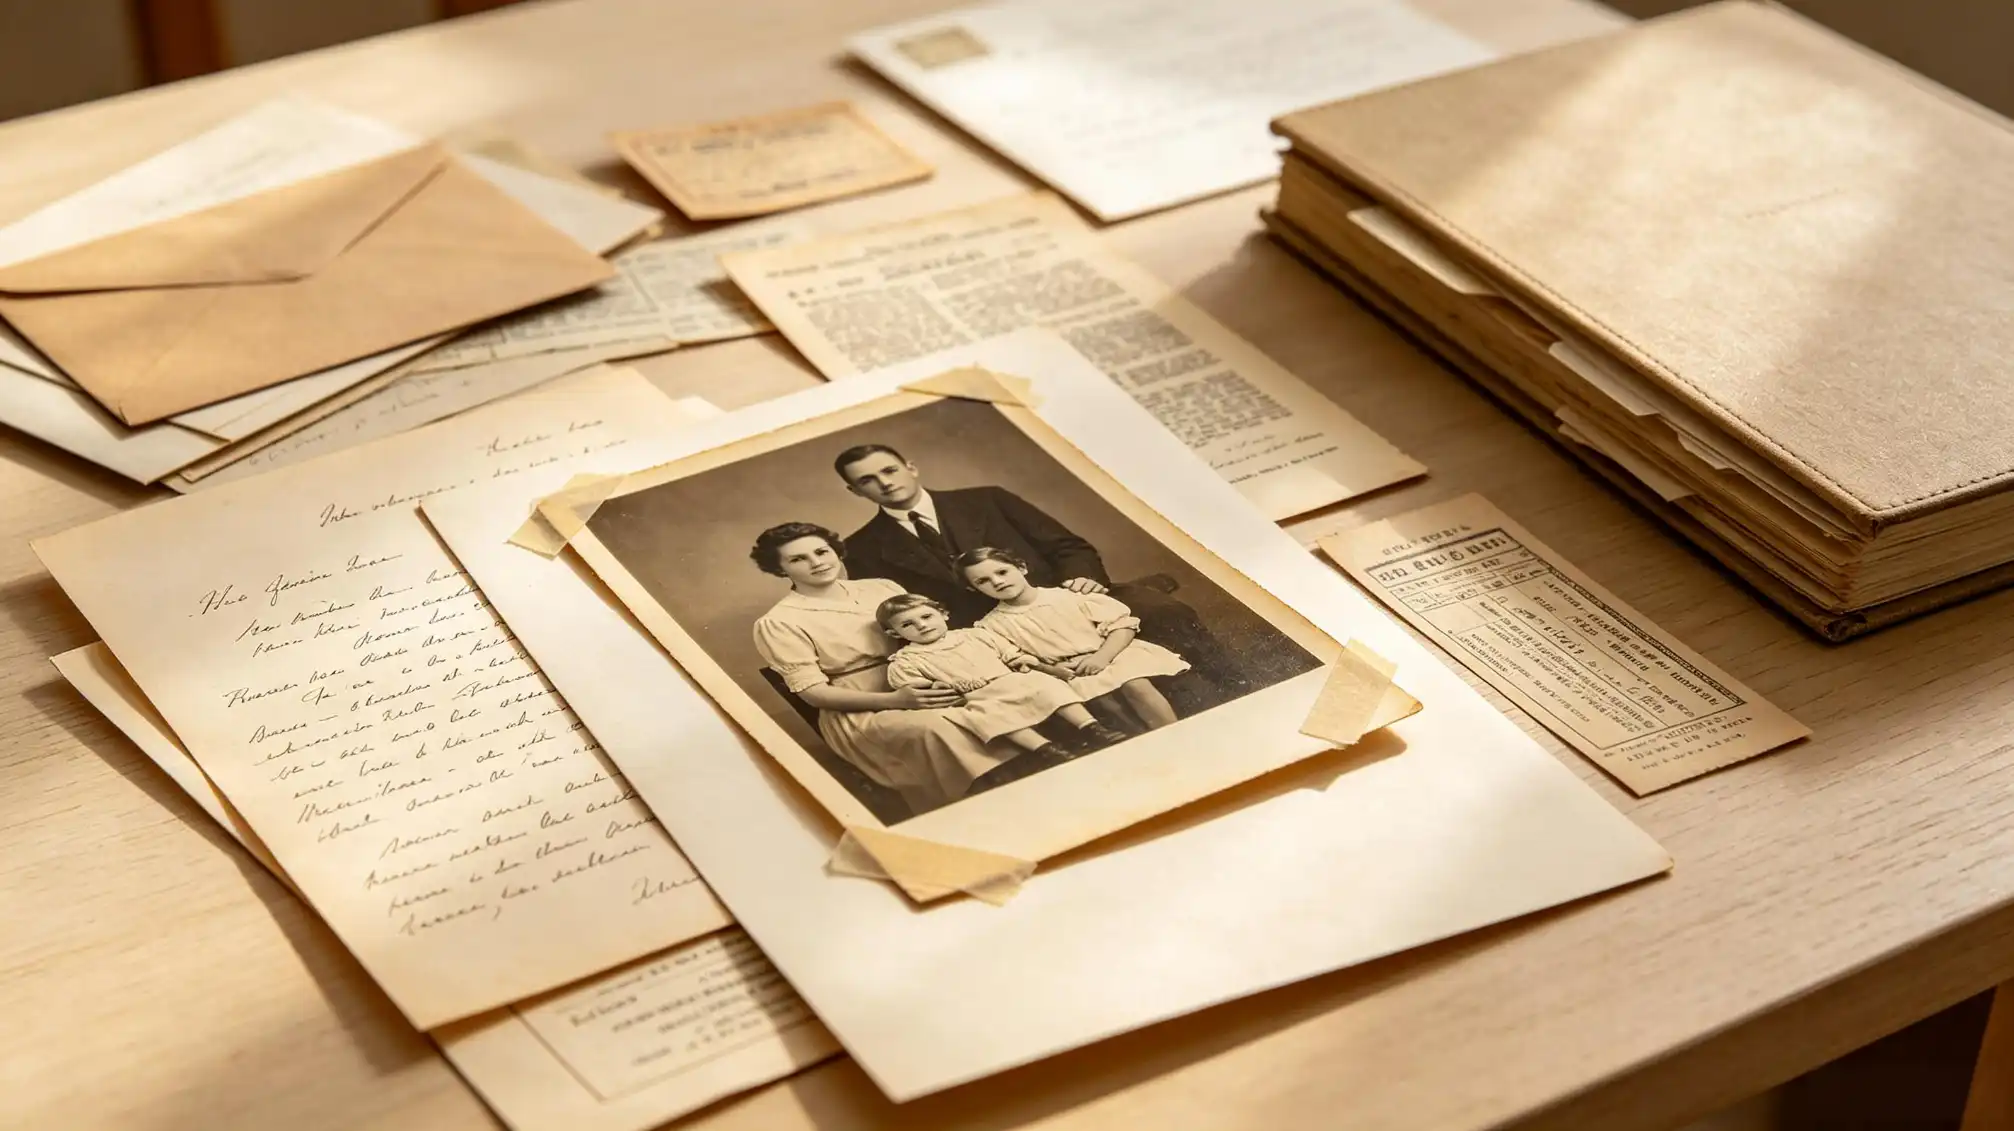
Now handle the physical collection with clean, dry hands. Sort into three rough piles: stable prints, damaged prints, and unknowns. Don't try to fix tears with household tape, rubber bands, or glue — those adhesives stain and dry out, and they cause the exact damage you're trying to prevent.
If a photo is stuck to glass or to another print, don't force it. Put it in a paper sleeve and set it aside for a conservator or a careful scan. Loose photos belong in archival sleeves made of polyester or polypropylene, or in acid-free paper envelopes. Avoid PVC plastic albums and magnetic photo albums from the 1970s and 80s; the adhesive is quietly eating the images right now.
Store them where you would want to sleep
Attics and basements are where photo collections go to die. Heat, humidity, and temperature swings cause fading and mold; a garage is even worse. The safest place in most homes is a cool, dry interior closet or an interior shelf — steady temperature, low humidity, no direct sunlight, and away from pipes and windows.
Keep prints upright in boxes rather than stacked flat under weight, and don't overstuff. If you live somewhere humid, add a small silica packet and check it every few months. And please: label the box itself. "Photos — Grandma Ruth's side, 1930s–1960s" on the outside saves an entire afternoon later.
Digitize with a purpose, not on a whim
Scanning everything at maximum settings sounds thorough, but it usually ends in an unfinished project and a very full hard drive. Instead, scan in waves with a target: the 40 photos that matter most this month, then the next 40. A flatbed scanner at 600 dpi for prints and 1200 dpi or higher for small or damaged originals is plenty; TIFF for the master file, JPEG for everyday sharing.
For albums and oversized items, a phone on a copy stand with even, indirect light works surprisingly well — no flash, no glare, camera square to the photo. However you capture them, keep one untouched master file for every image. You can always crop a copy later; you can never recover detail you never captured.
Give every file a name that explains itself
This is the step that separates an archive from a pile. A file called IMG_4471 means nothing in twenty years. A file called 1954-06-margaret-and-hank-wedding-anniversary-01.jpg tells the whole story without opening it.
Set a simple convention and never deviate: year first, then month, then the people, then a sequence number. Sort folders the same way — by decade, then by family line. If you don't know an exact year, use your best estimate and mark it, for example circa-1948. An honest guess beats a blank.
Write down what you know, while you still can
A digital file can carry more than pixels. Add names, places, and a sentence of context to each image's metadata, or keep a plain spreadsheet that maps filenames to notes. Ten years from now, someone will be grateful that you wrote "this is the house on Delaney Street, before the fire."
For prints you're keeping, write lightly on the back with a soft pencil — never a pen, never on the front. If you're uncomfortable writing on the original, slip a note into the sleeve beside it.
Back up in three places, share in one
Follow the familiar rule: one copy on your computer, one on an external drive stored somewhere else, and one in cloud storage. Check the drive once a year by opening a few random files. Backups fail silently, and you want to find out now rather than during a crisis.
Sharing is the part that keeps a collection alive. Upload the best images to a family space where cousins can add names and corrections, and invite people to contribute their own. If you want a place to gather those memories and let relatives fill in the gaps, family stories is a natural home for the narratives that go with the pictures. A photo that only one person can identify is fragile; a photo that fifty relatives can discuss is nearly indestructible.
Make it a habit, not a project
You will not finish this in a weekend, and you don't need to. Aim for one small session a month: a handful of scans, a few labels, one conversation with an older relative. Preserving ancestors' faces is a slow, cumulative act of care, and steady beats heroic every time.
Start this week with the smallest possible task — one box, one relative, one question. The people in those photographs already did their part by living through what they lived through. Keeping their faces and names together is how your family history stays a story instead of a puzzle.